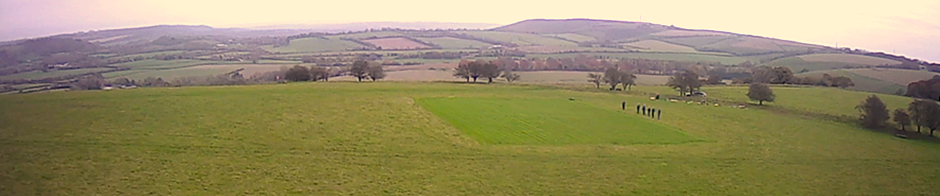
In the last Patch News I asked if any members had received any modelling related presents for Christmas and apparently some of you had treated yourselves to new models so this month I have several new models to tell you about which makes my job much easier. Members managed quite a lot of flying in January as the spell of bad weather that had plagued us through much of December finally ended about a week into the new year.
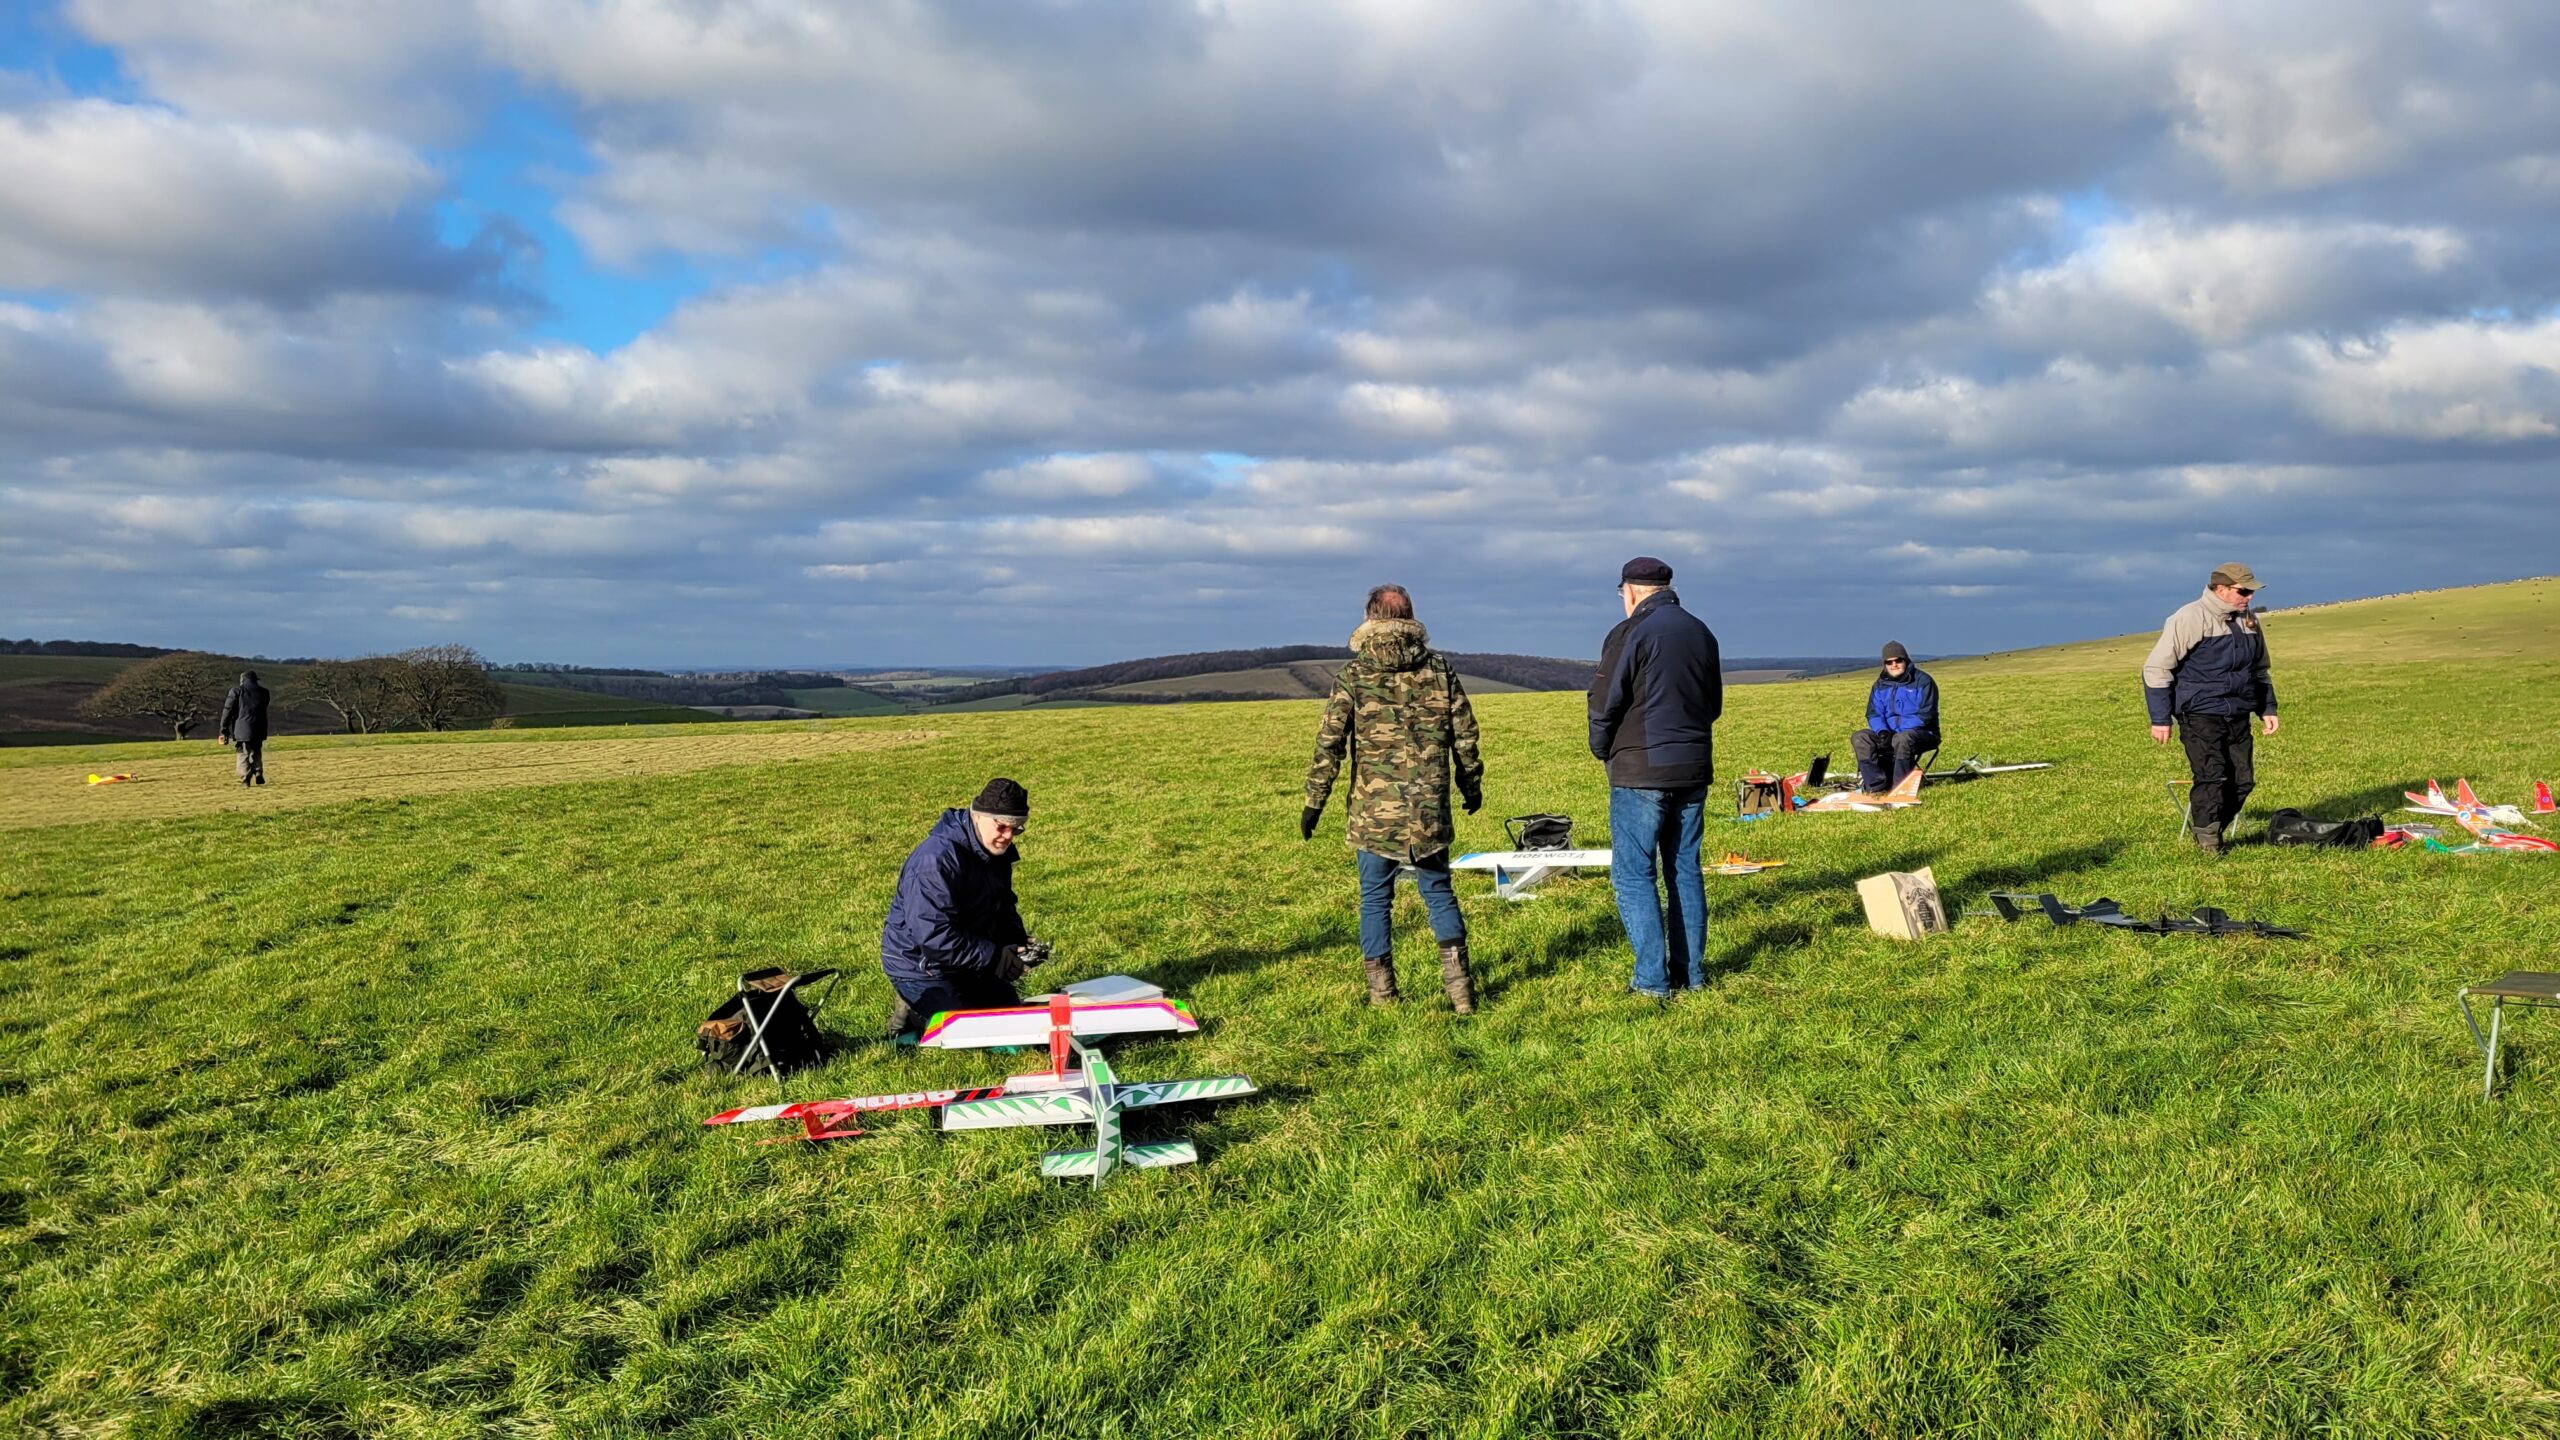 The rest of the month was mostly cold but dry and with quite light winds so the hardier members wrapped up well and made the most of it at every available opportunity.
January was the month of ‘If at first you don’t succeed, try, try, and try again’ with 1066, Woody, and me all flying new models that weren’t good at first but ended up flying well.
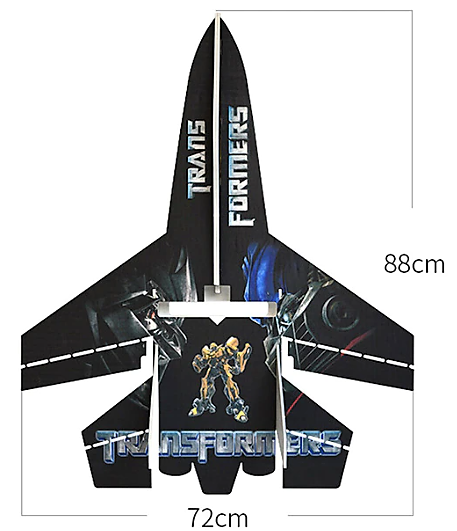
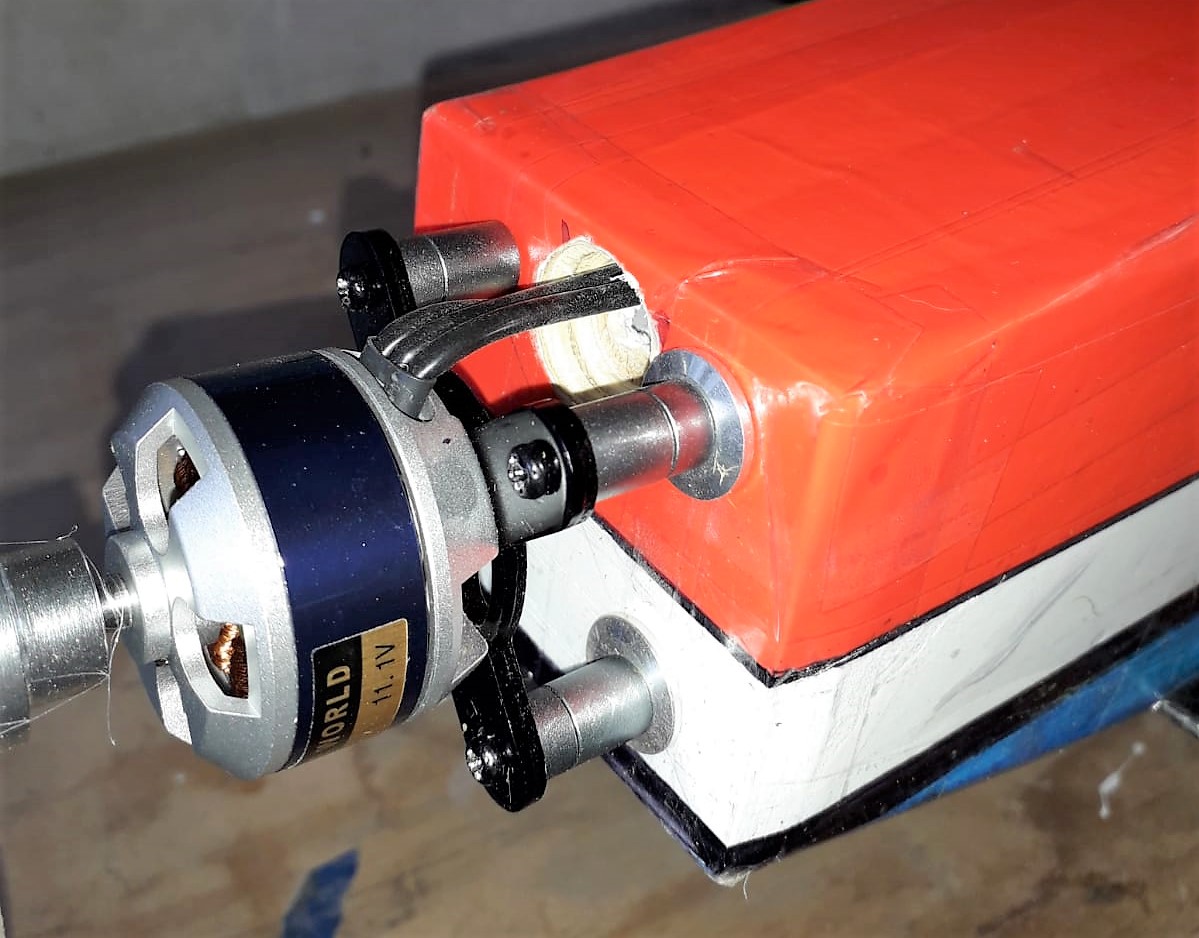
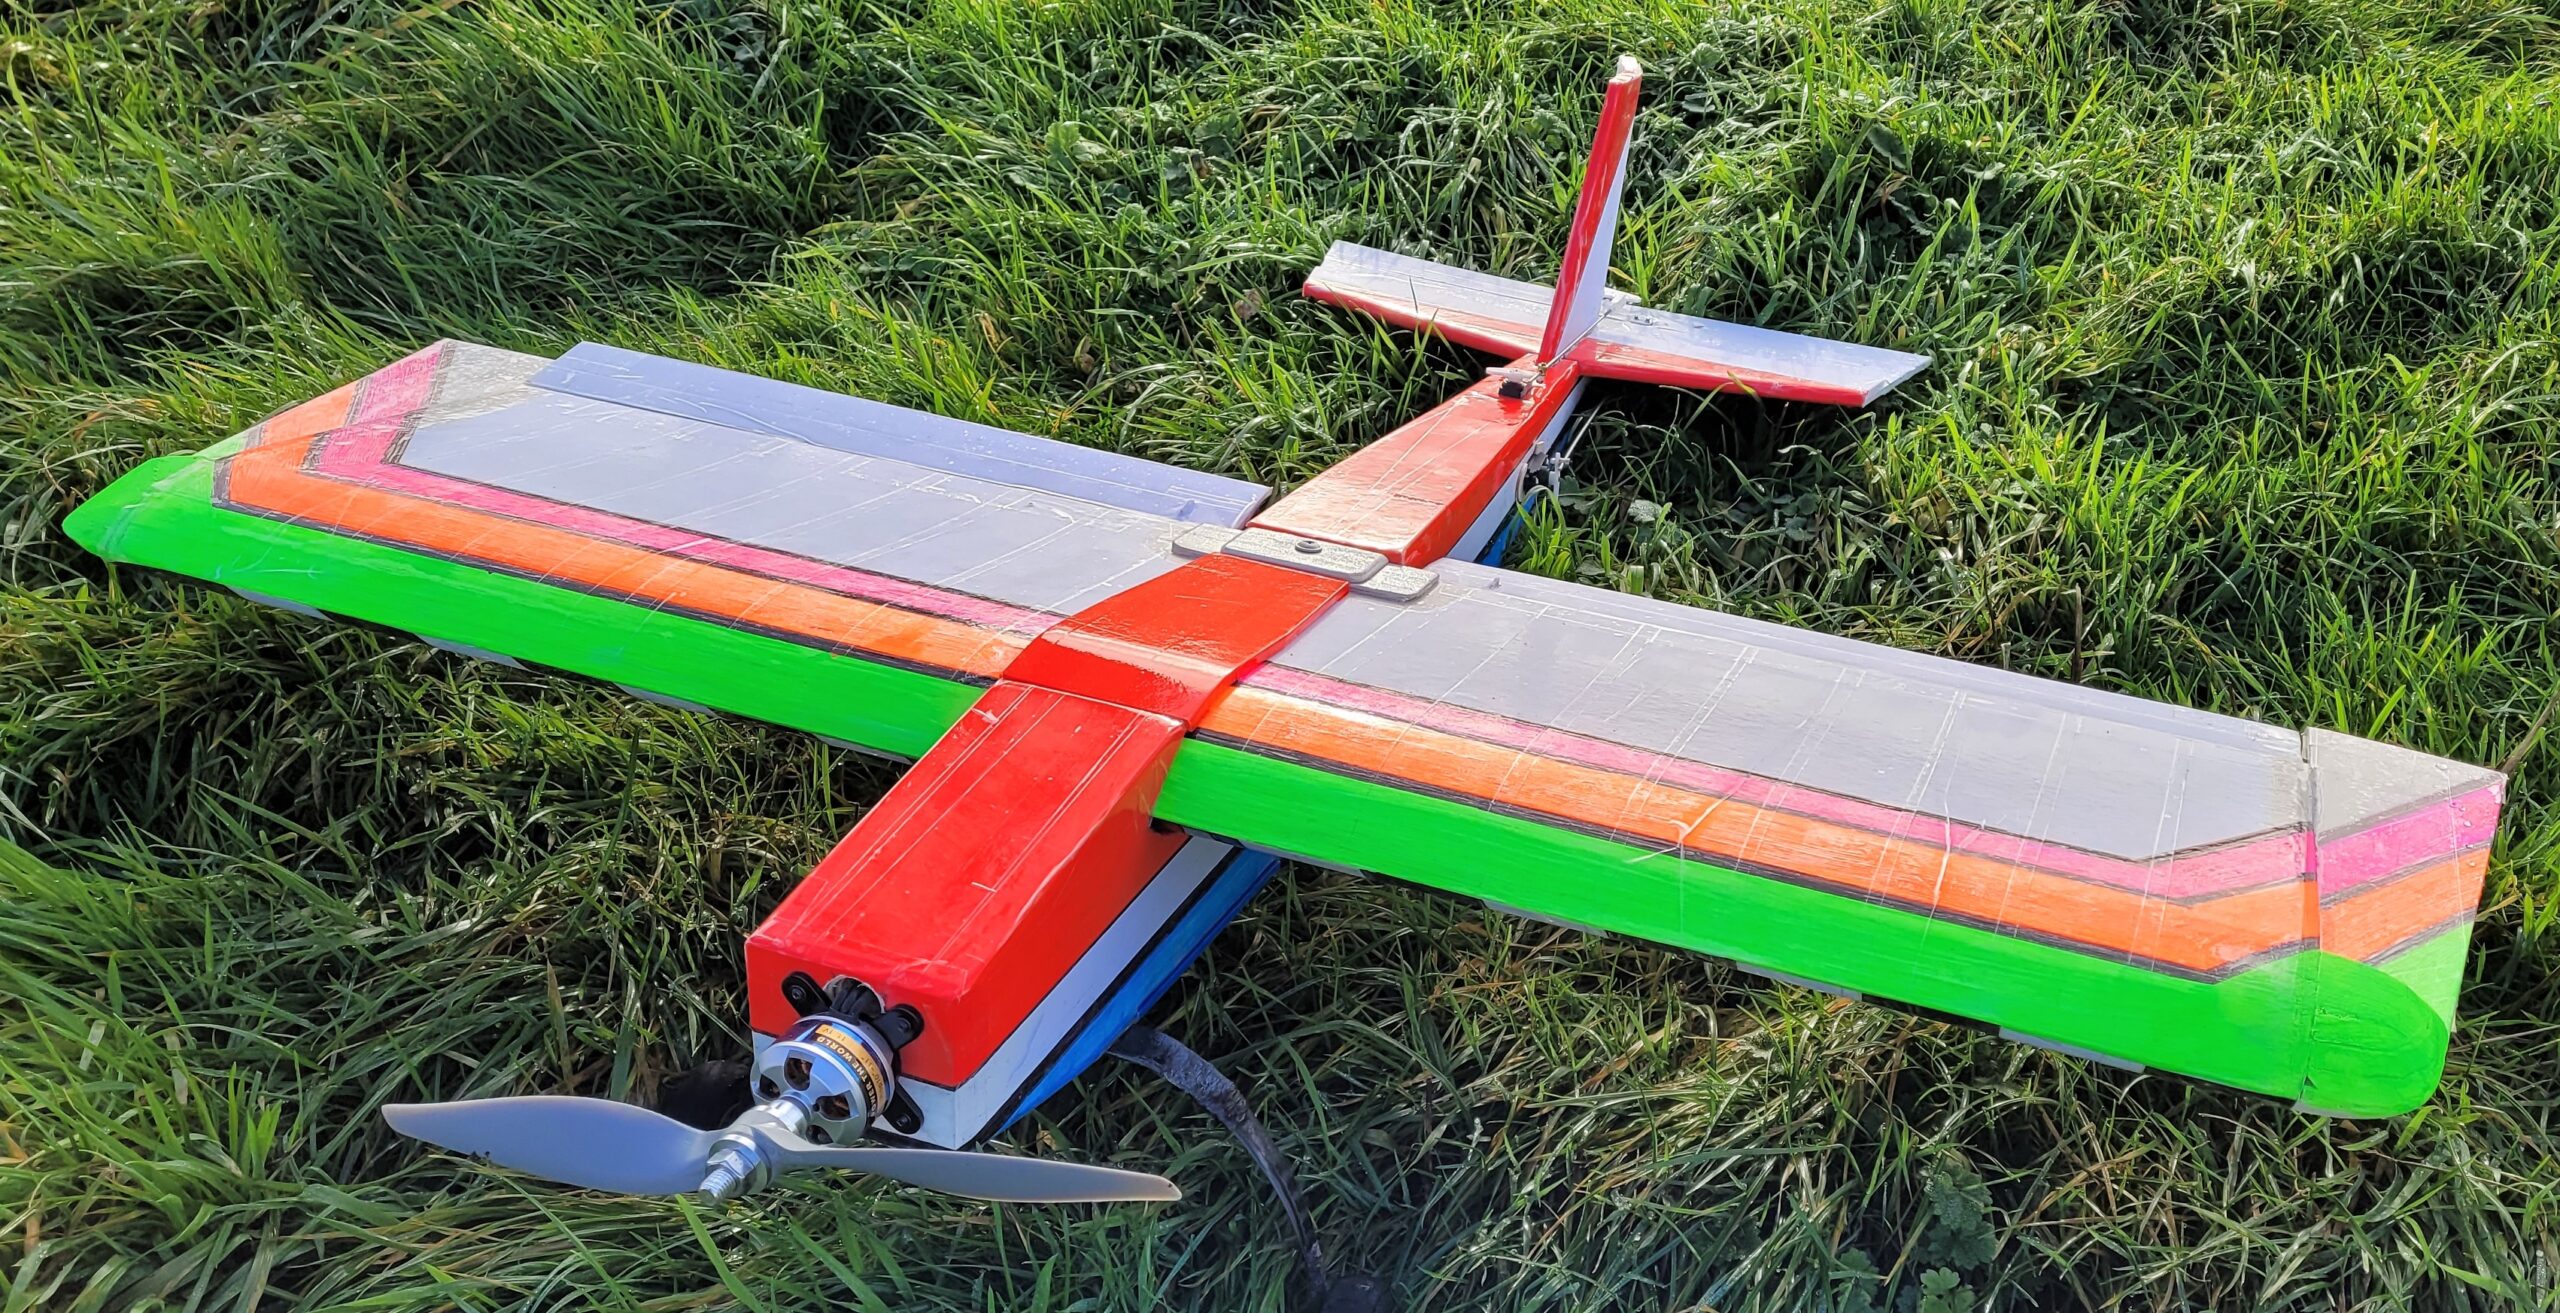
I’ll begin with mine: In the last Patch News I reported on a ‘toy’ model that I’d ordered in early November which eventually turned up at the end of December and I said I’d tell you more about it this month. It’s moulded from a tough foam that seems similar to EPP but has a pretty poor finish, no sharp edges to the moulding or any sort of surface detail.
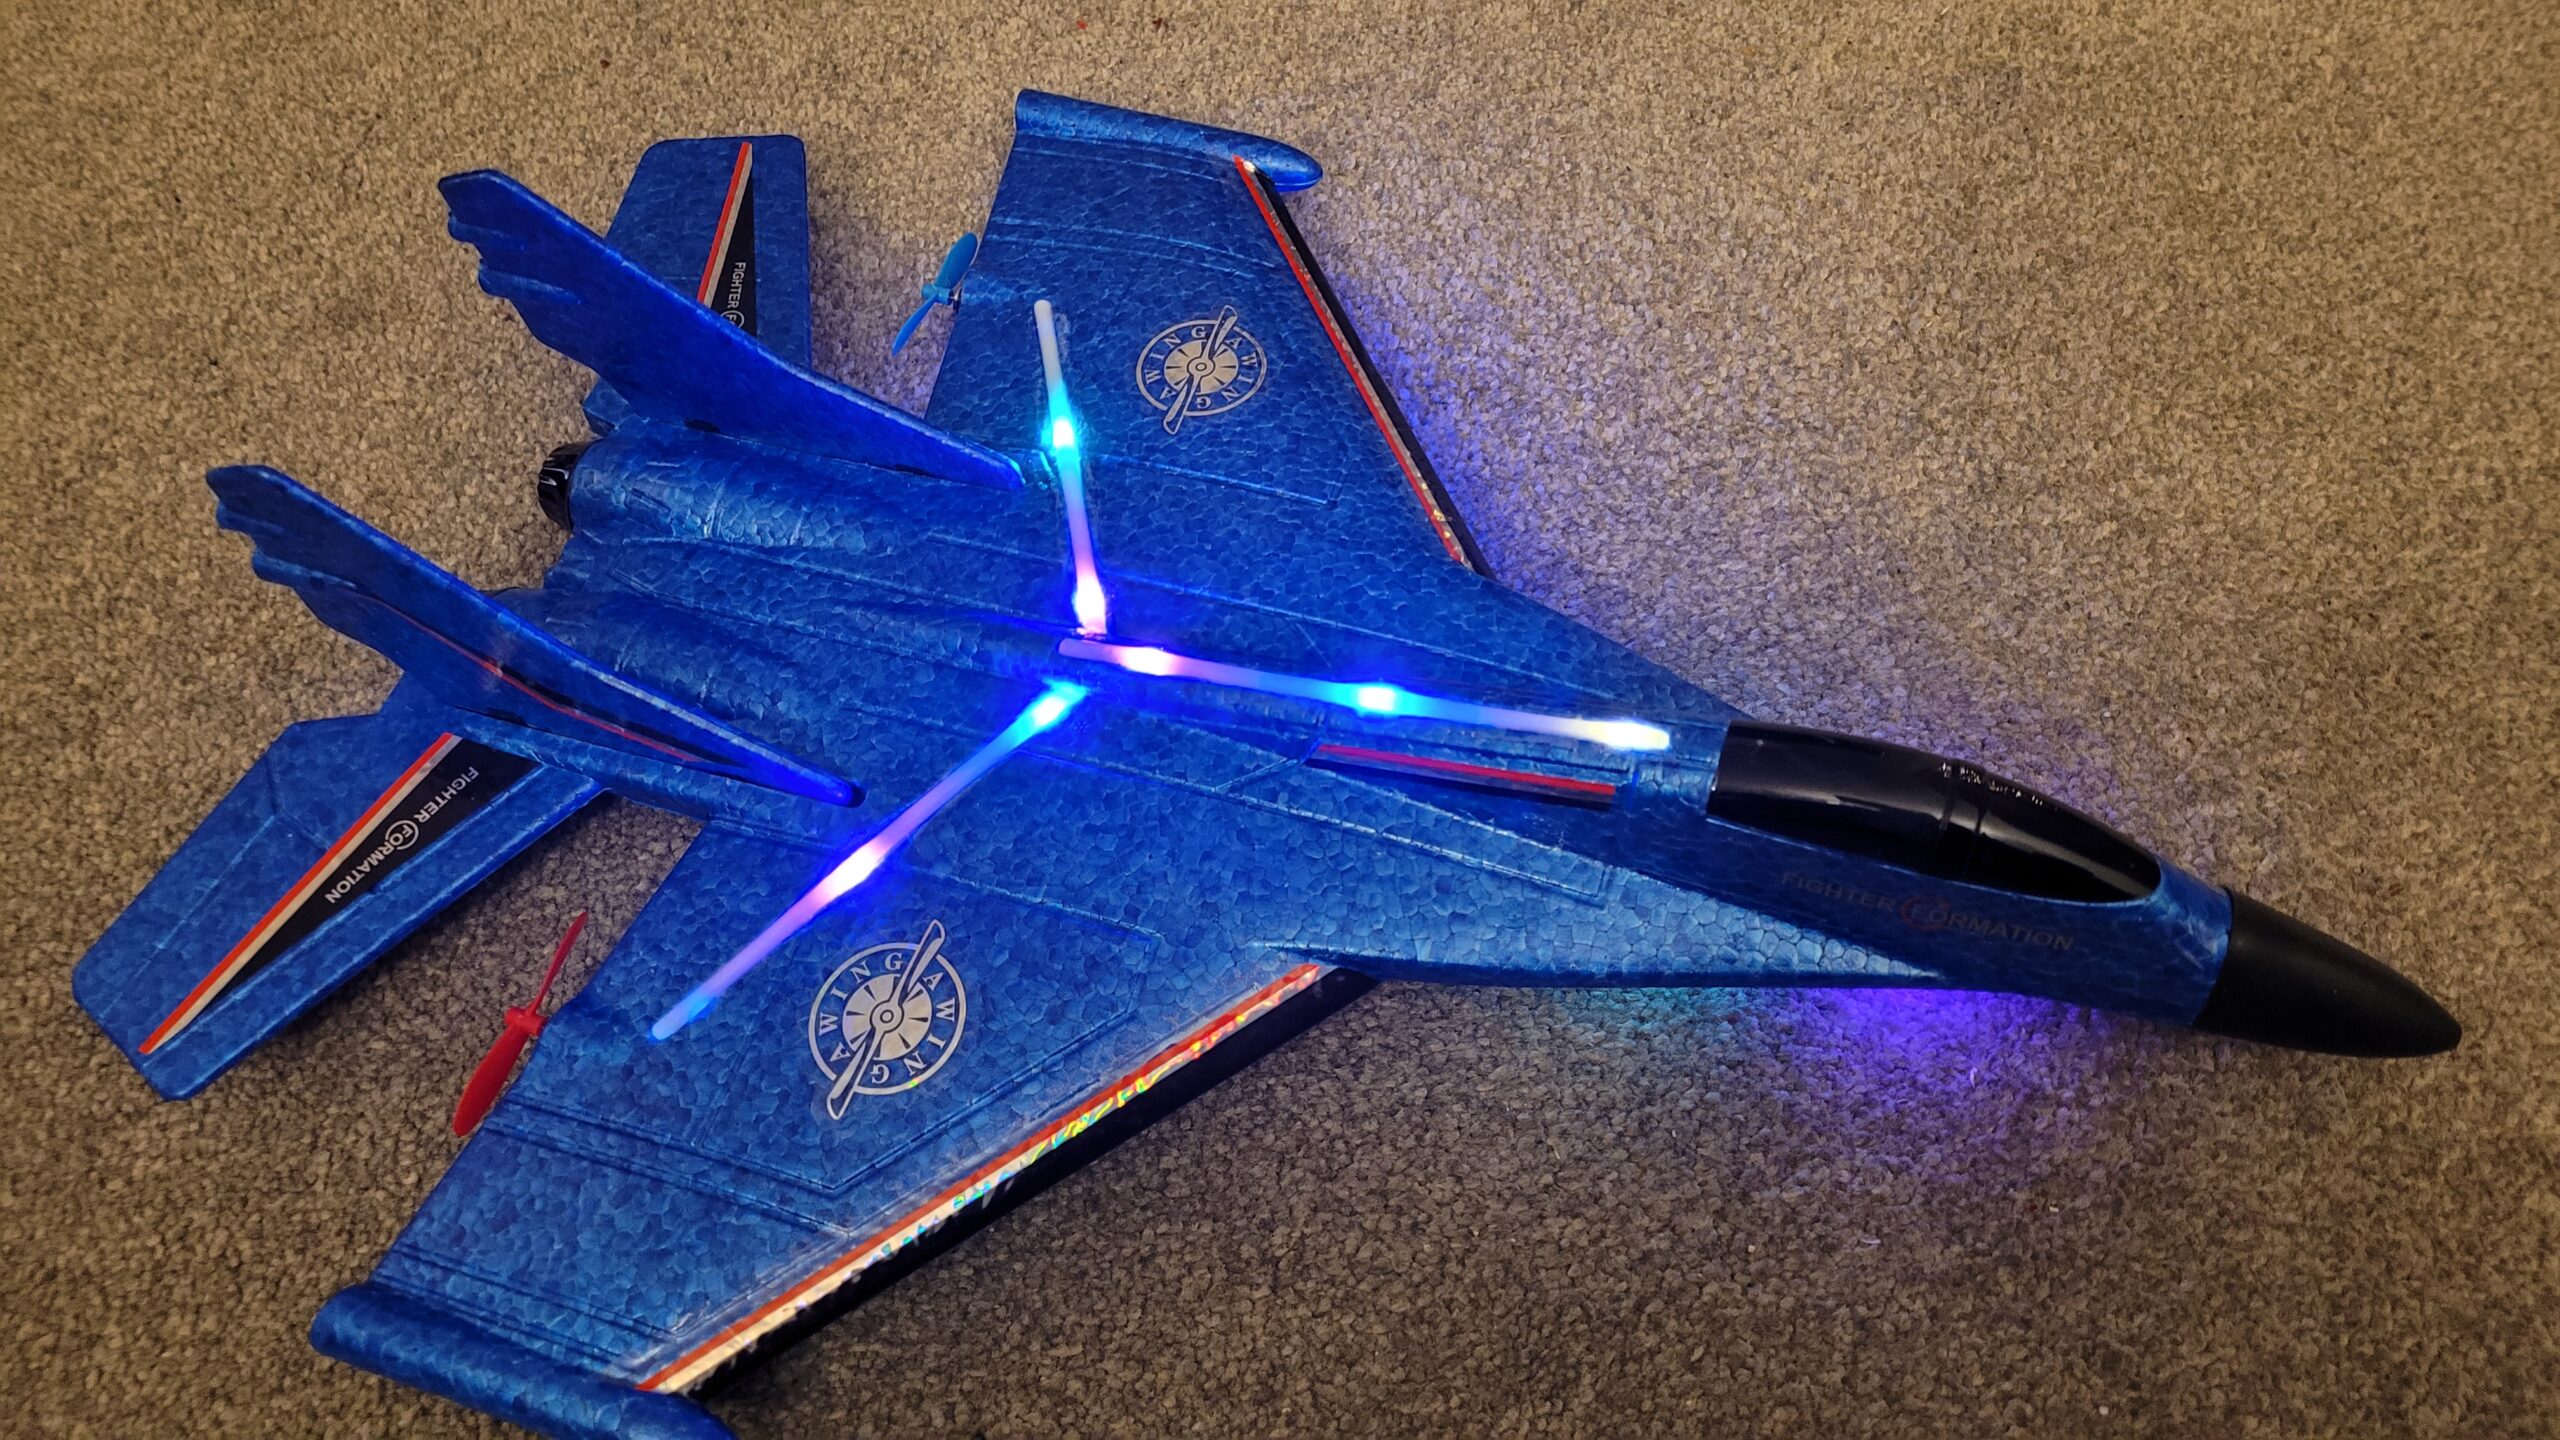
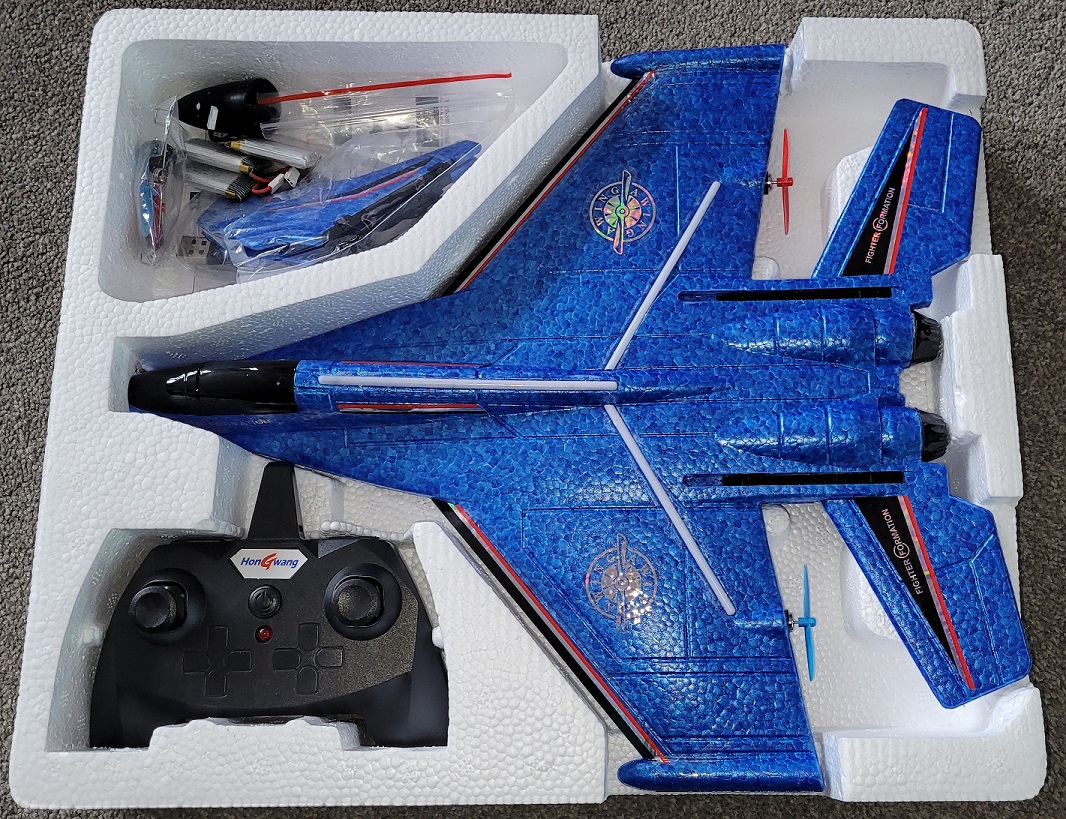 It has three LED strips on the top and underside which probably show up quite well in the dark but can’t be seen in the air even on a dull day. Maybe I’ll try a night flight sometime!
 So how does it fly? Not very well is probably the honest answer! The plane is controlled only by the thrust from the two motors, there are no servos or moving surfaces, so it climbs or dives depending on the throttle position and turns by powering one motor more than the other. It takes a bit of getting used to and is really only flyable in very light winds.
  Sometimes it seems to turn quite well but other times it takes half the field to turn 180 degrees and I haven’t really worked out why yet. The only way to adjust the trim is to bend the foam tail which is neither very accurate nor consistent. As you’ll see in the video it almost looped from the first launch but over the next half dozen or so attempts I gradually sorted it out and eventually got it flying quite nicely. But at every session, with different wind speeds, the trim is different each time and it’s like starting from scratch again. But for £24 with three batteries I didn’t expect too much and I’m quite enjoying the challenge.
Woody spotted some foamboard models on Ali Express and ordered himself a J-10 along with an electronics pack containing a motor, speed controller, propeller, and two servos.  To give it the correct title the plane is a Chengdu J-10 Vigorous Dragon, a single engine Chinese multirole fighter than can reach Mach 2.2 and fly in all weathers. It has a delta wing layout with canards and is fitted with fly-by-wire controls.
 On Woody’s J-10 the foam is not the same as the foam on the models from HobbyKing, it has a smoother surface which takes printing better and I think it’s slightly denser so it’s probably a bit heavier. There are no instructions with the kit but construction is similar to the SU-27 and Mig-29 so Woody was able to get it all put together with no problems.
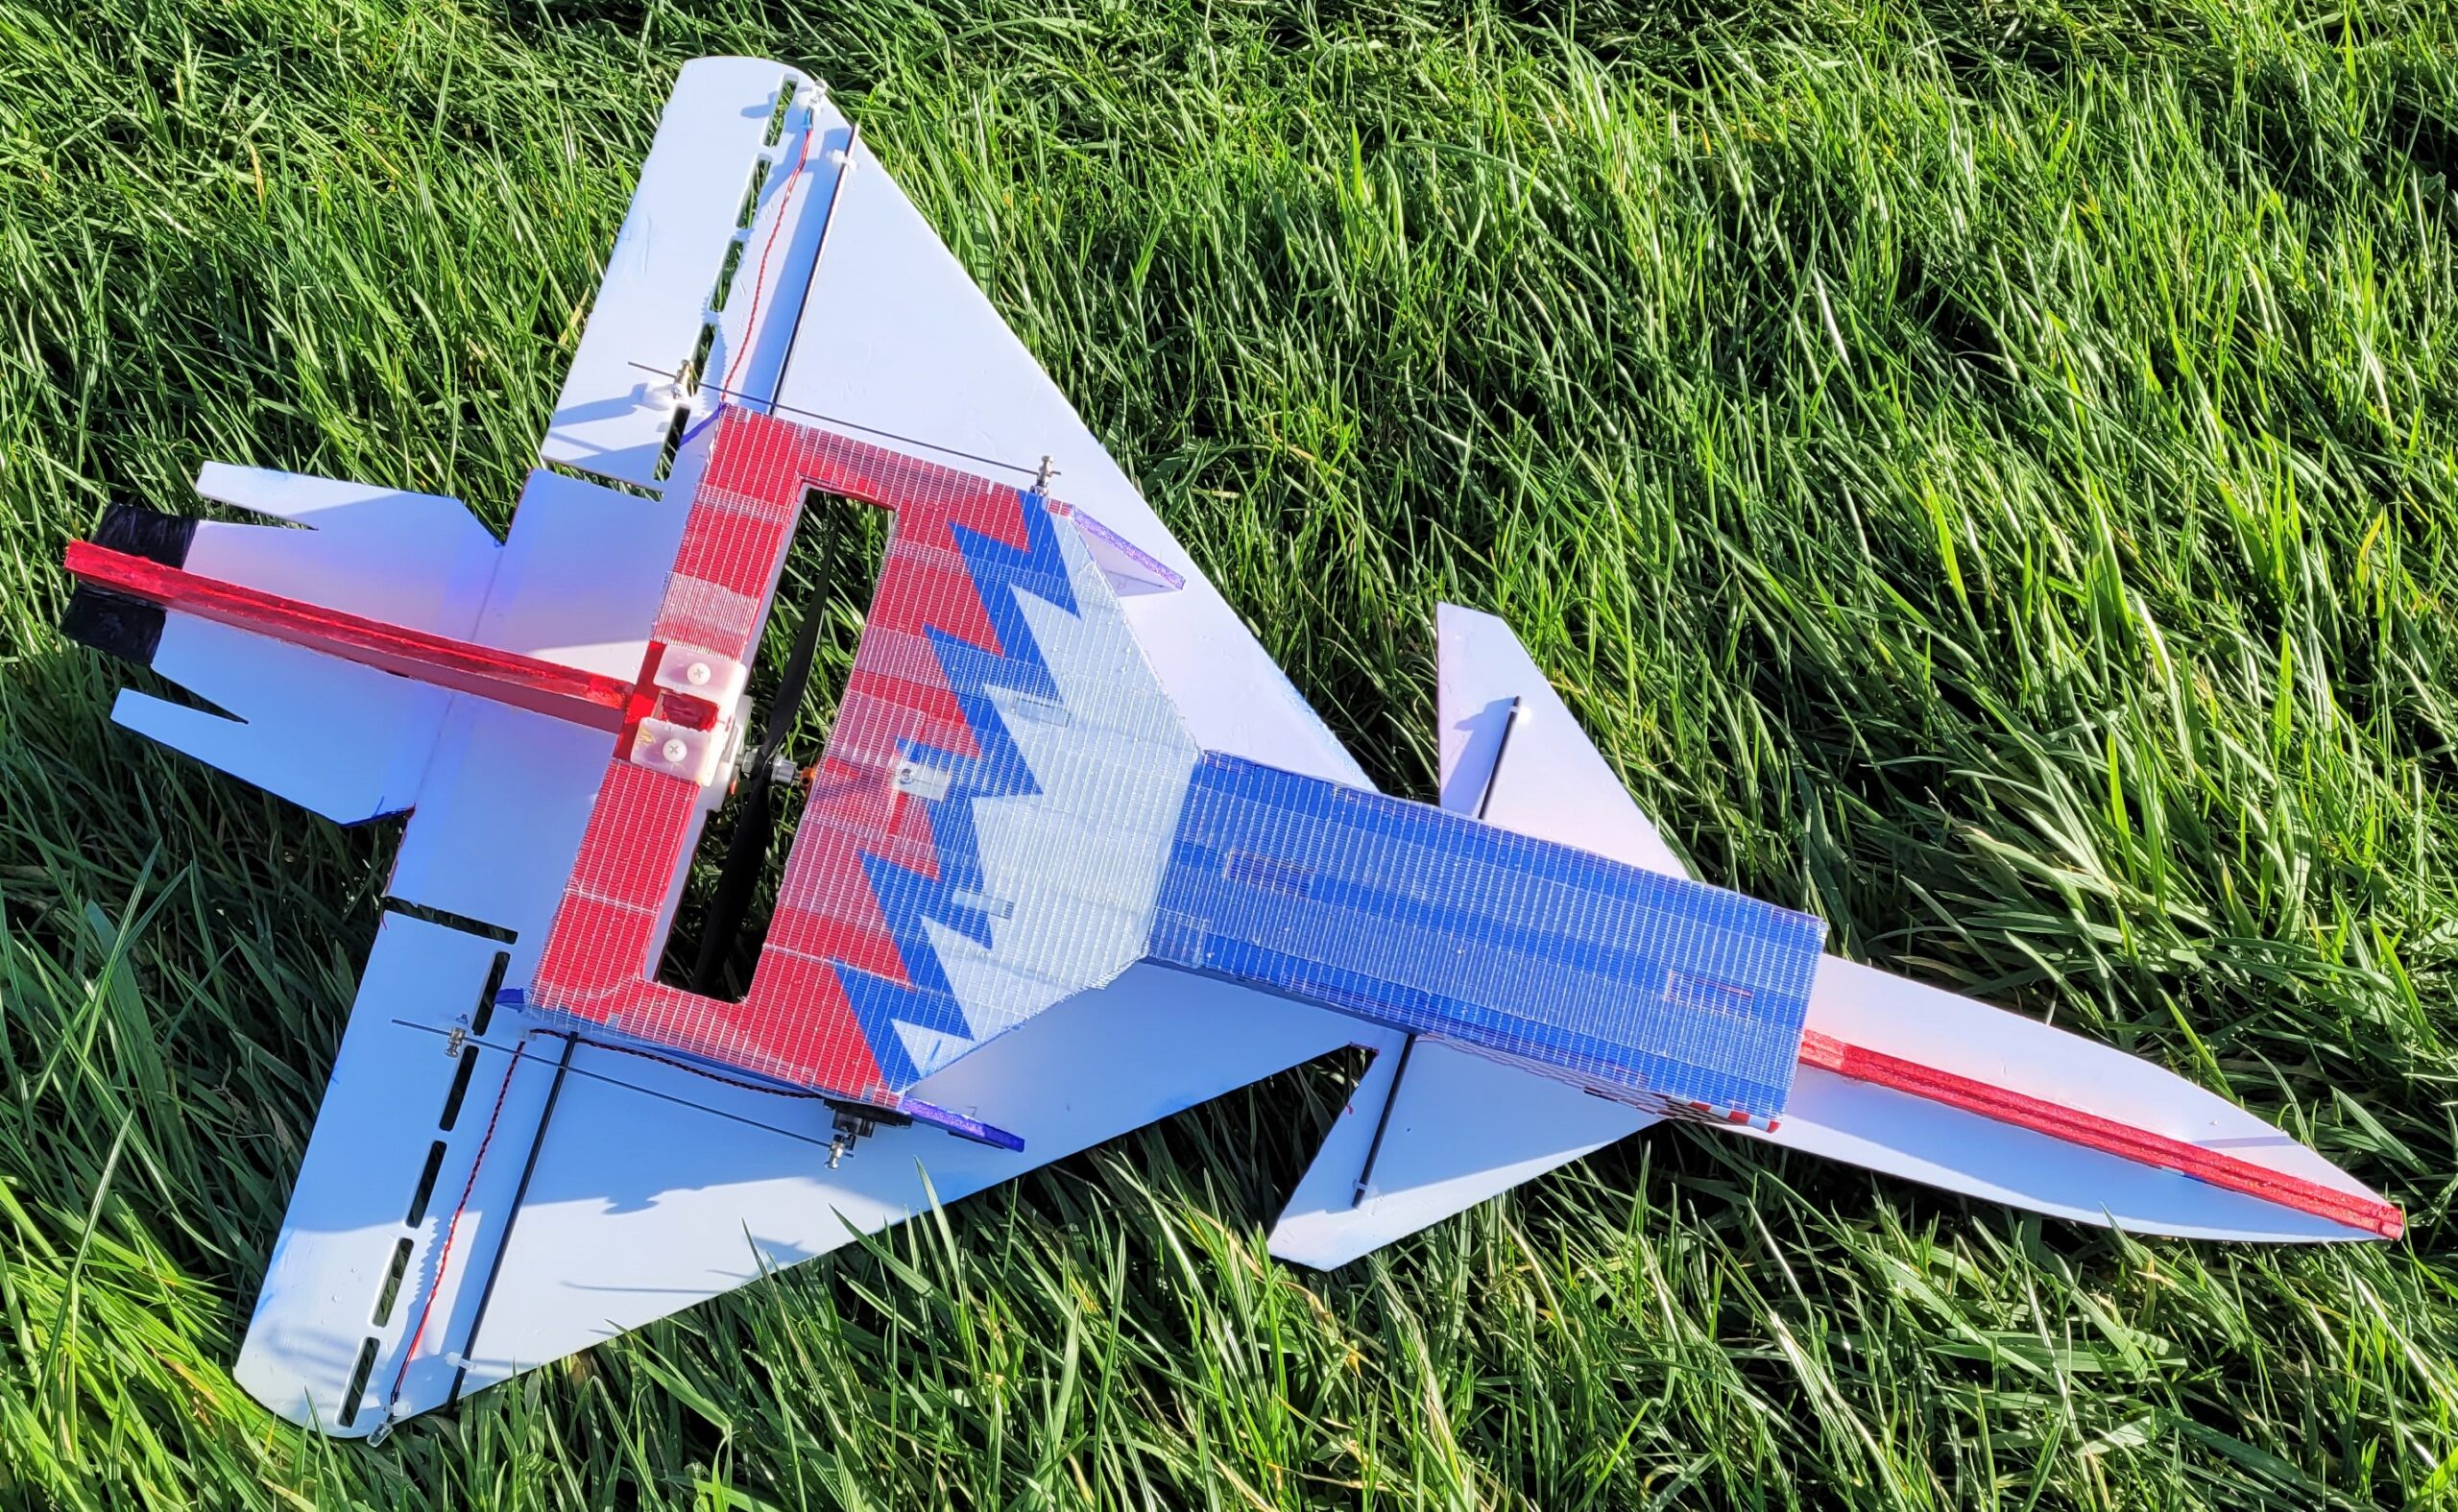 Woody added some lights and also a couple of extra pieces to stiffen the airframe up a little. To check the centre of gravity is correct there is a small hole near the top of the profile fuselage and the kit includes a piece of cord and ‘handle’ to dangle the plane from.
 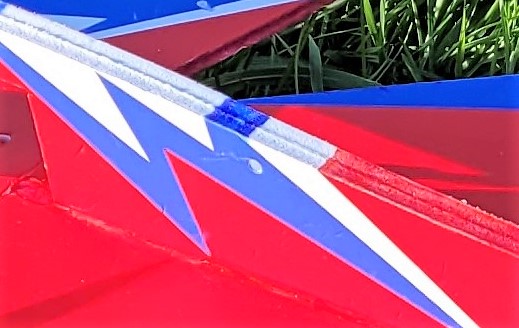 The finished model looks good and the general opinion was that it should fly well and would probably be quite fast. With no instructions Woody had set the surfaces to neutral and guessed what control movements would be needed but when we tried to fly it we quickly realised that it needed some reflex as the first few launches resulted in it sinking to the ground. So we adjusted the surfaces to add some reflex and it got airborne but it wasn’t pleasant to fly so more movement adjustments were made which improved things a lot.
 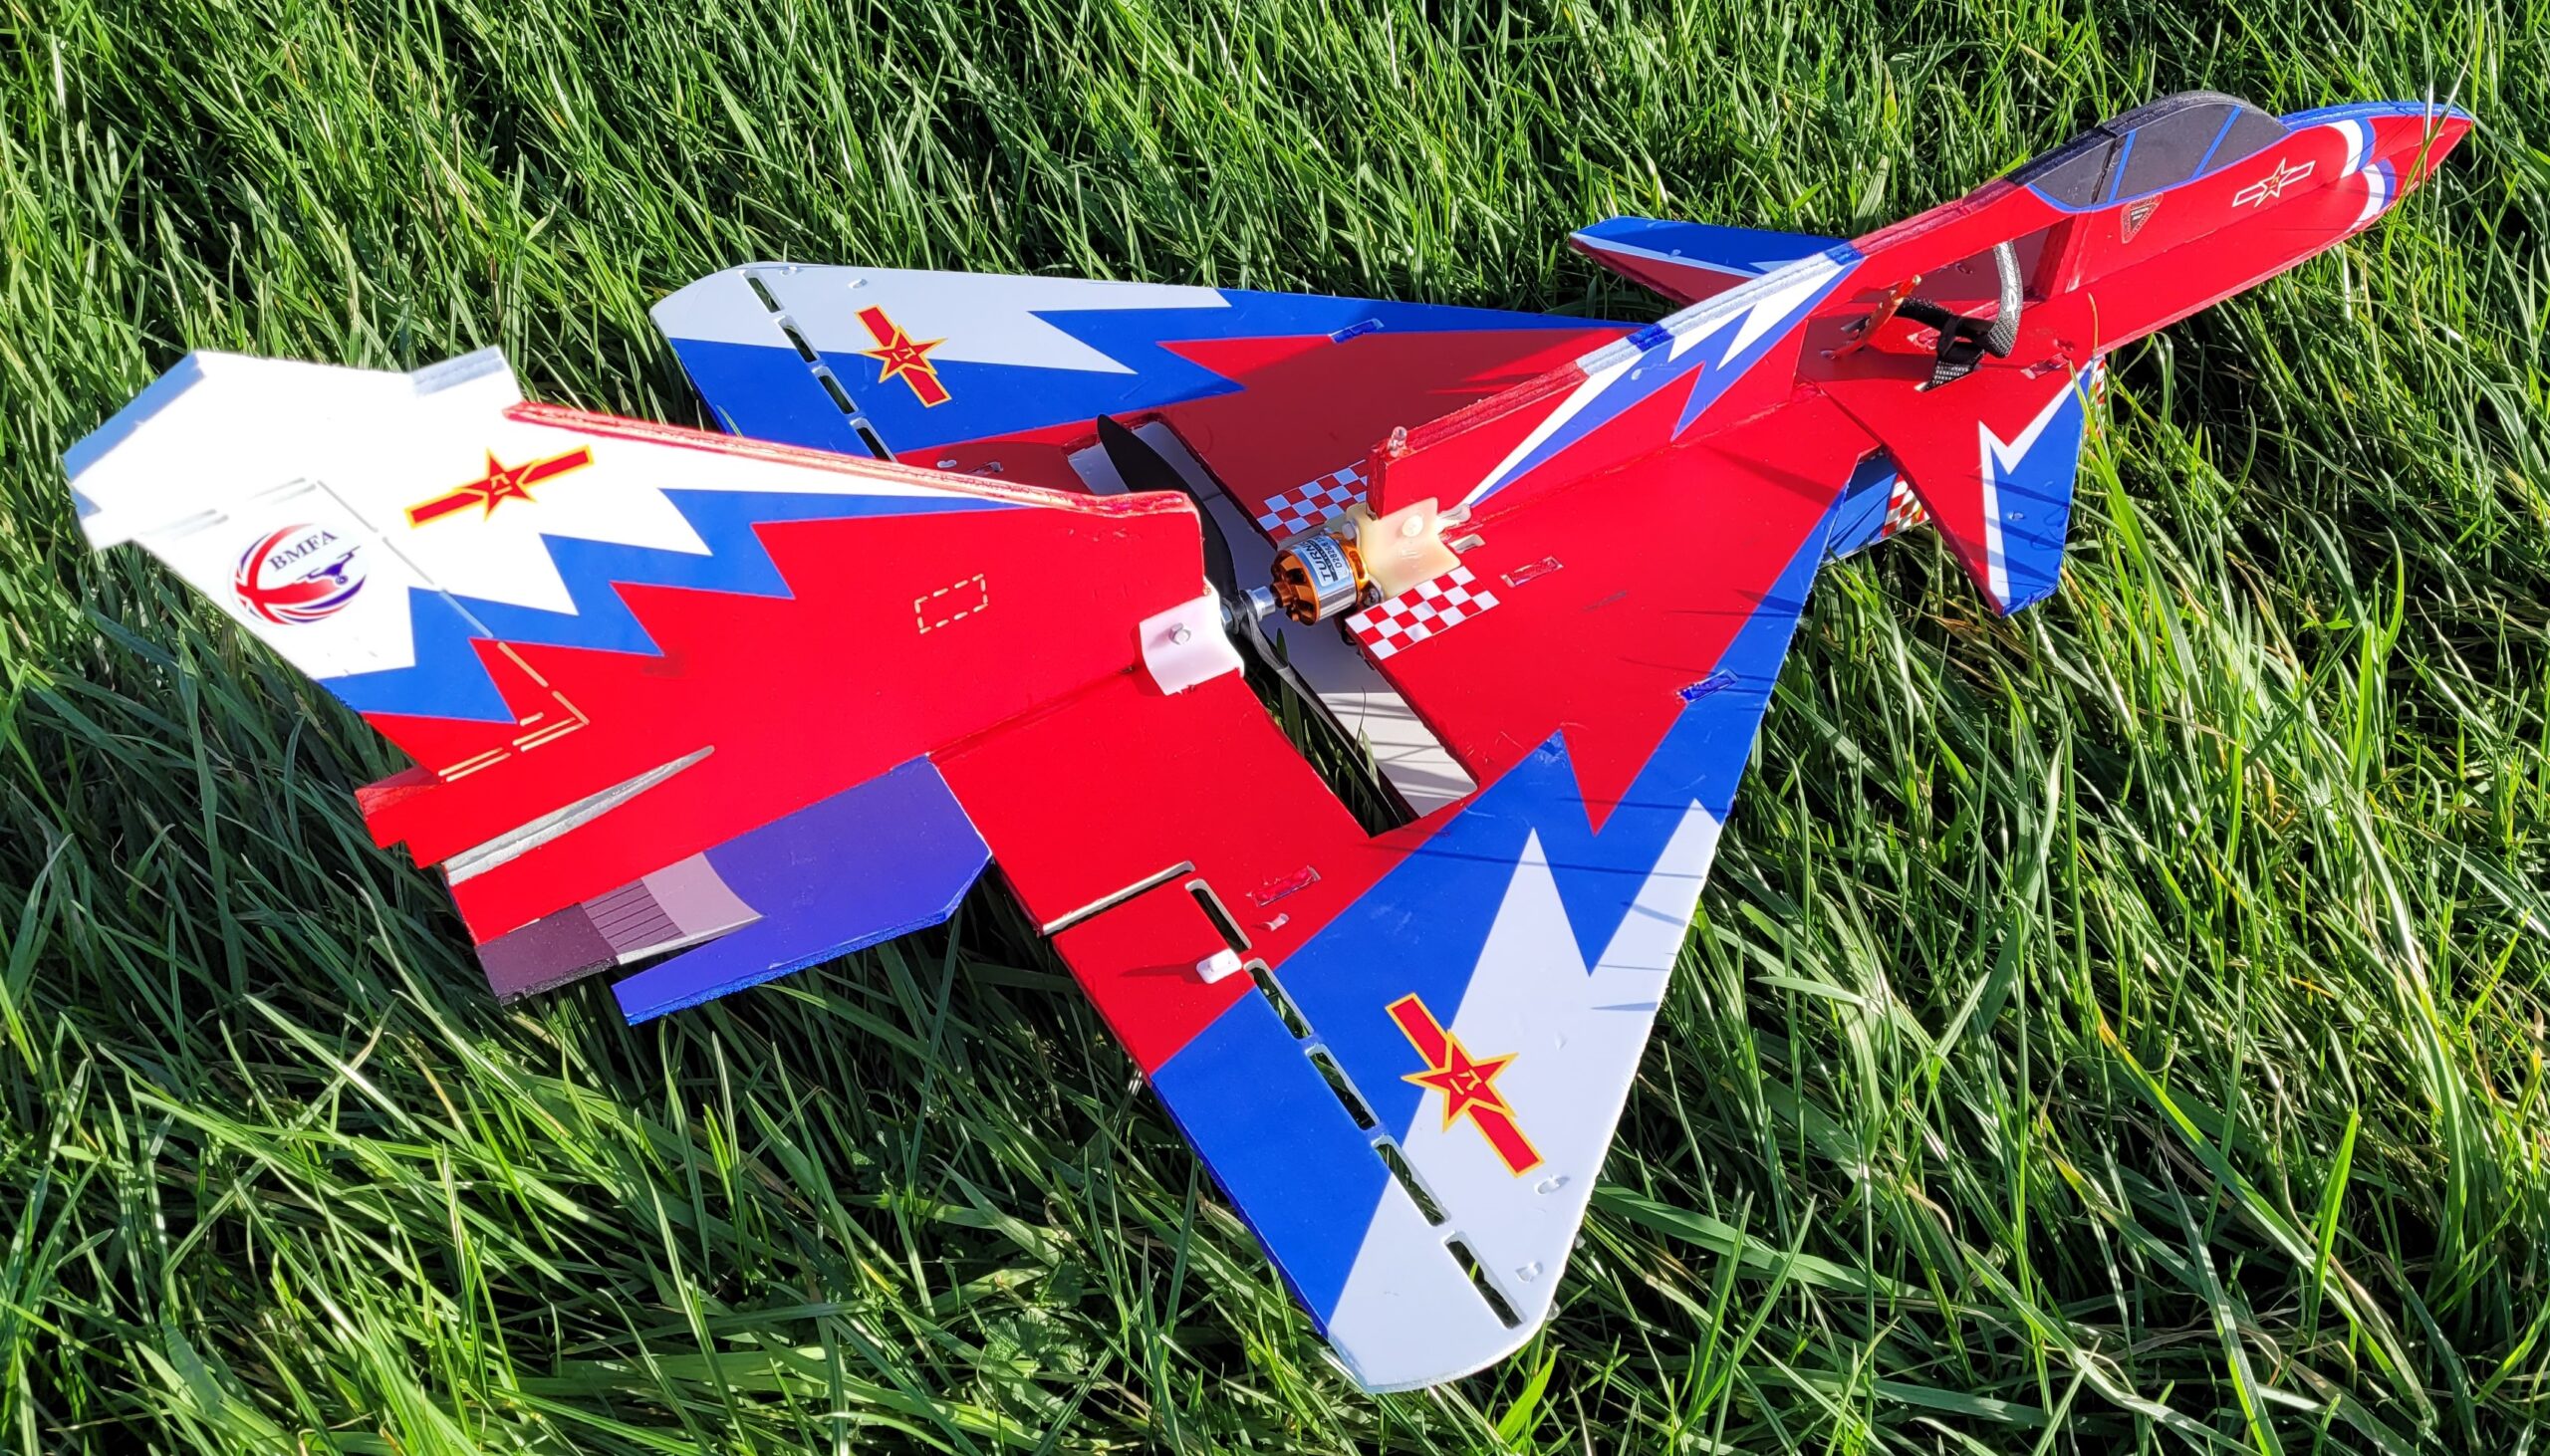 Although the C of G was where indicated the model seemed nose heavy so Woody enlarged the battery opening to enable him to move the battery 20mm further back. Eventually, with the C of G about 15mm behind the stated position the J-10 flew well. Woody is still experimenting with the control movements but it’s now a good flier, quite fast flat out but it will slow up nicely and has no nasty habits. It looks good in the air and I think it will be a strong and reliable model which is just as well as I have bought one for myself!
Woody’s is the Red & Blue version so I ordered the Dark Blue one but it’s also available as the Chinoiserie which is…err…different! According to Wikipedia Chinoiserie is the European interpretation and imitation of Chinese and other East Asian artistic traditions. 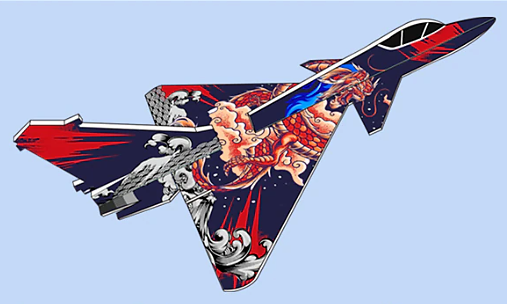 Ali Express is rather like Amazon and sells stuff from a variety of shops which have a range of foam models including the SU-27, J-10, J-31, and JF-17 all available in various schemes.
 The prices shown on the site are without VAT but the price you will pay adds the 20% tax so there’s no need to worry about import duty. My J-10 was £25.99 including tax from XDRC store and I also bought an SU-27 from U-Angel-1988 Speciality Store for just £13.35 including tax but that is just the foam parts, no linkages or carbon rods etc.
Both my planes arrived at the same time, both much sooner than stated on the sites and the J-10 was in a nice cardboard box but the SU-27 was just in a jiffy bag!
 Some of the foam parts were a bit bowed but neither plane had crushed or missing parts.
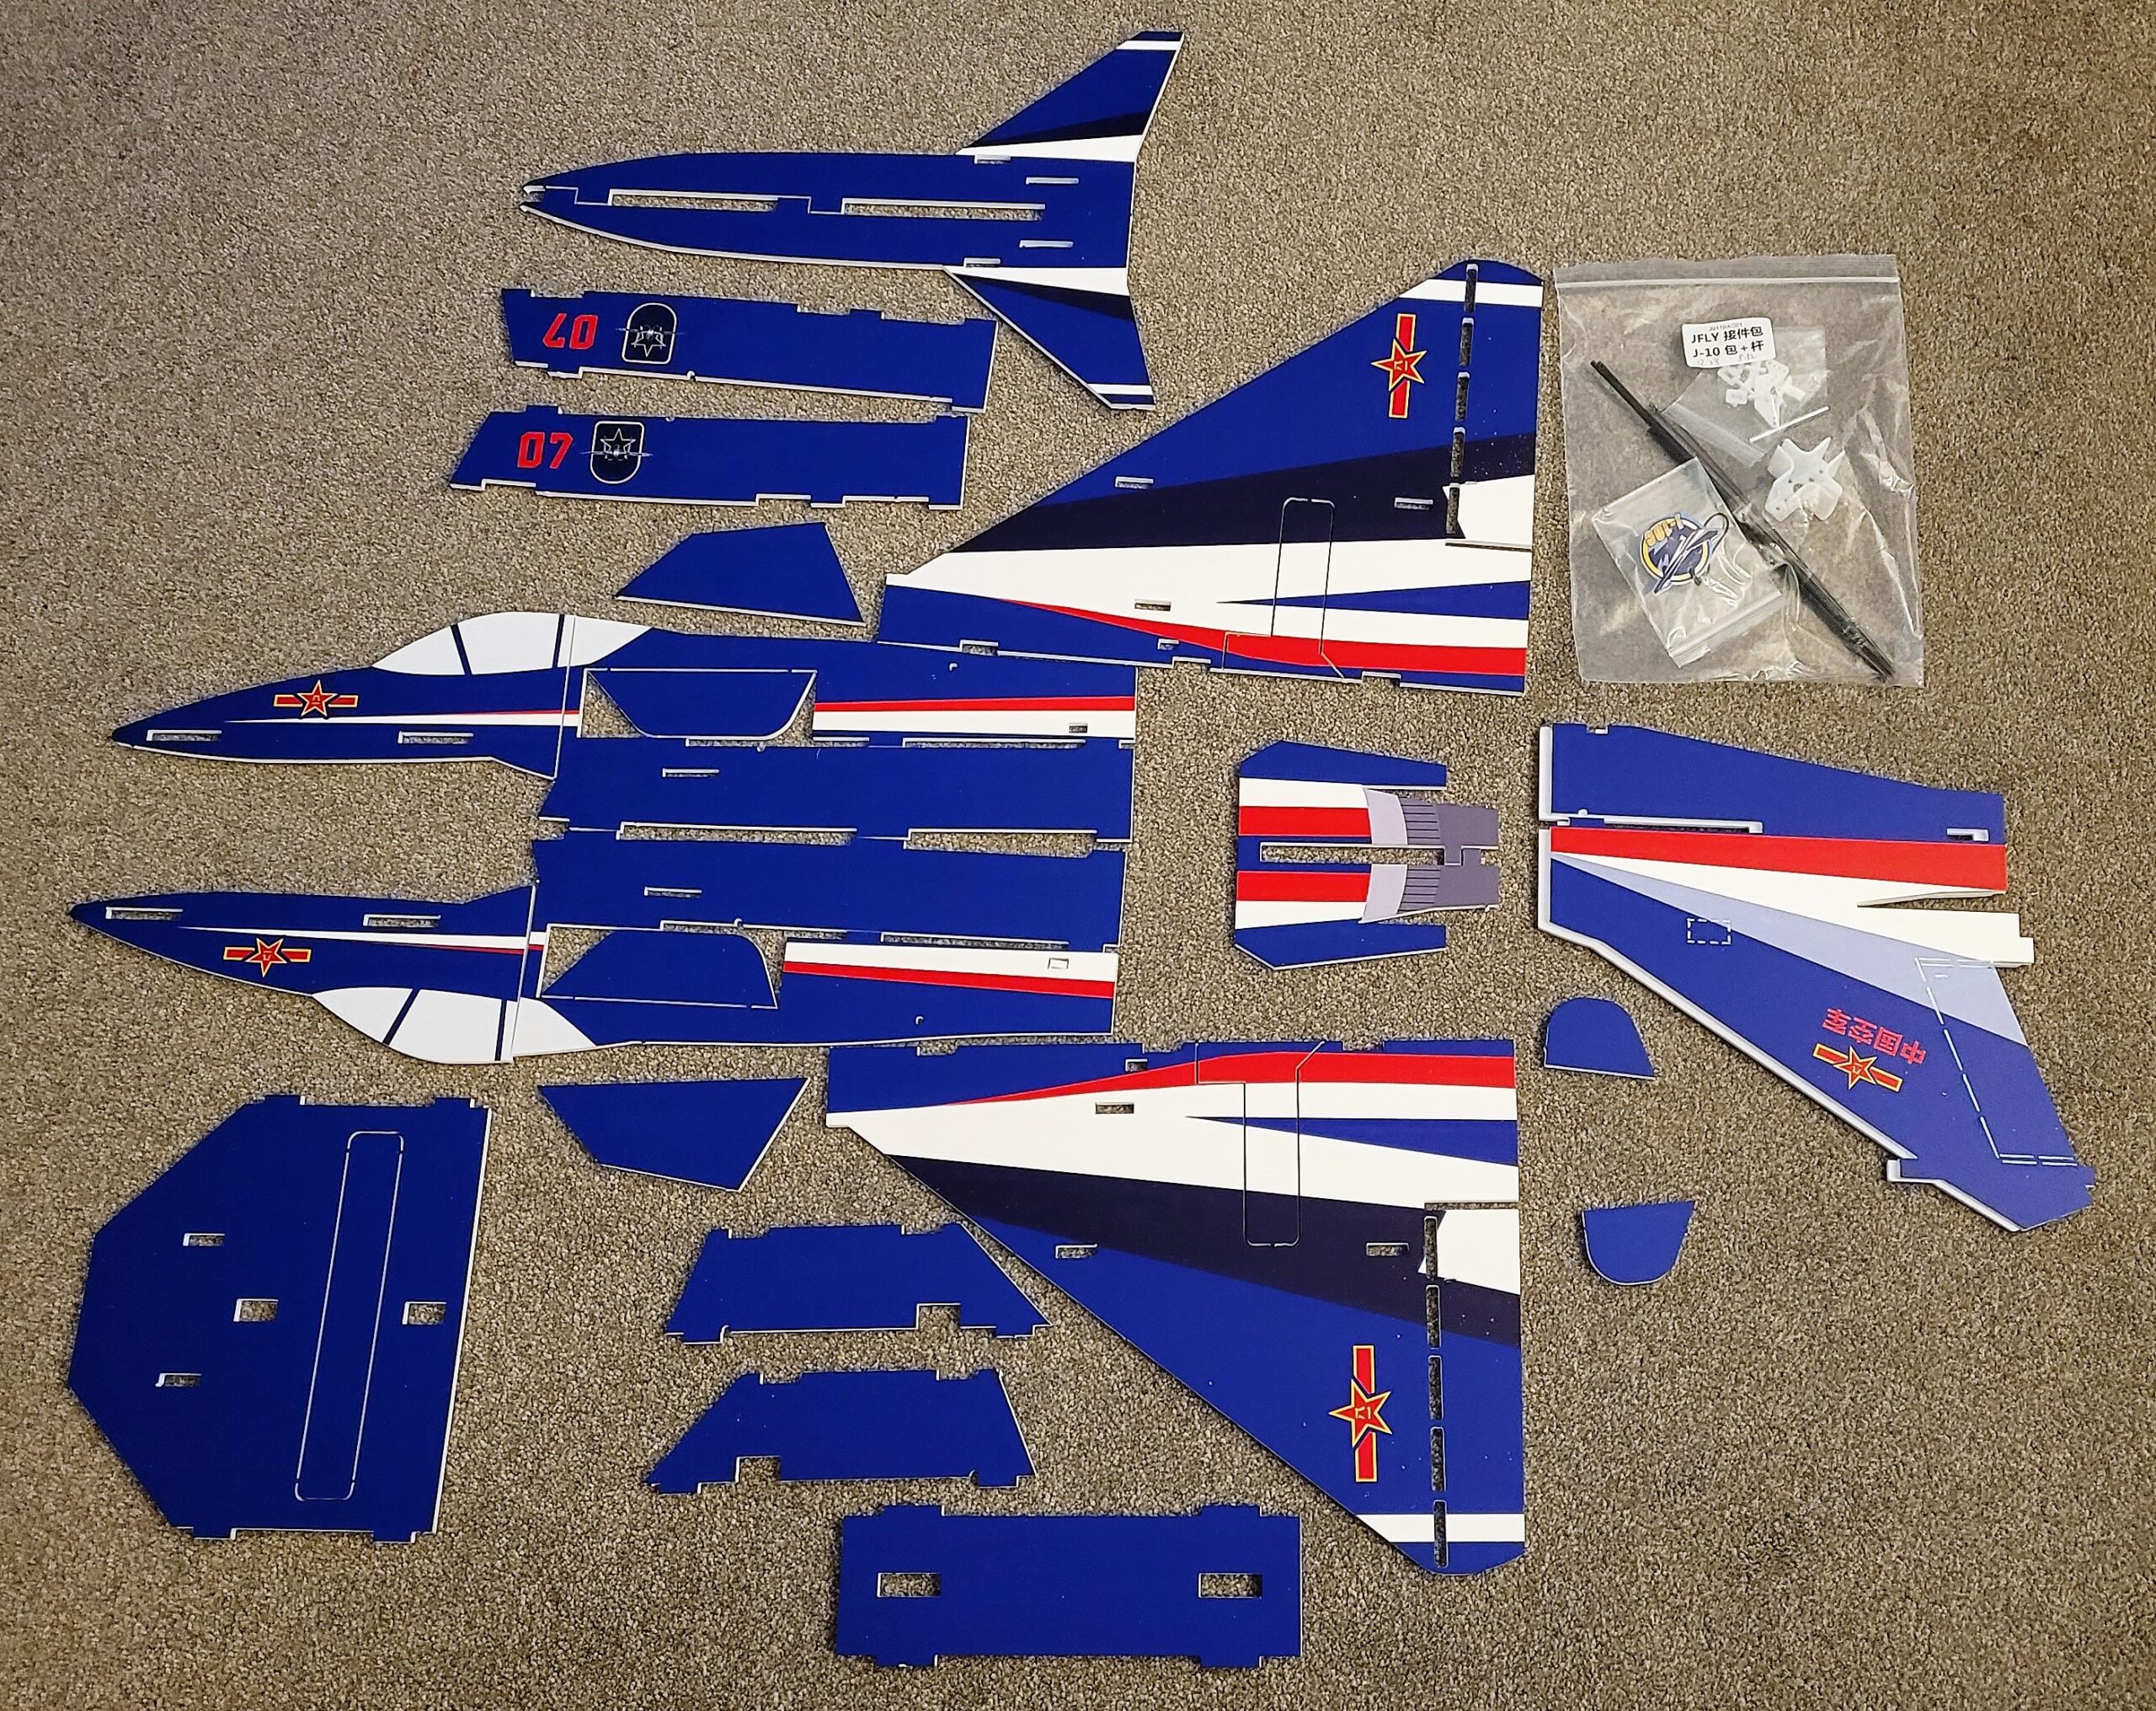
 The printing on the SU-27 says Hornet in several places and I think it looks more like an F-18 Hornet than a Sukhoi SU-27 so I’m going to call it a Hornet from now on.
Bob the Builder has since ordered an SU-27 from the XDRC store so it will be interesting to see if it’s any different. While I was looking around the Ali Express site I came across a 40 second video of a foamboard plane being flown. I’m not sure the BMFA would approve!
In the November Patch News I included a couple of photos of 1066’s incidence meter being demonstrated on a new model he was building. The model has now been finished and flown so here’s what 1066 has to say about it: Let me start by saying I am no builder or designer but sometimes I get ideas in my head that fire up my creative juices LOL!
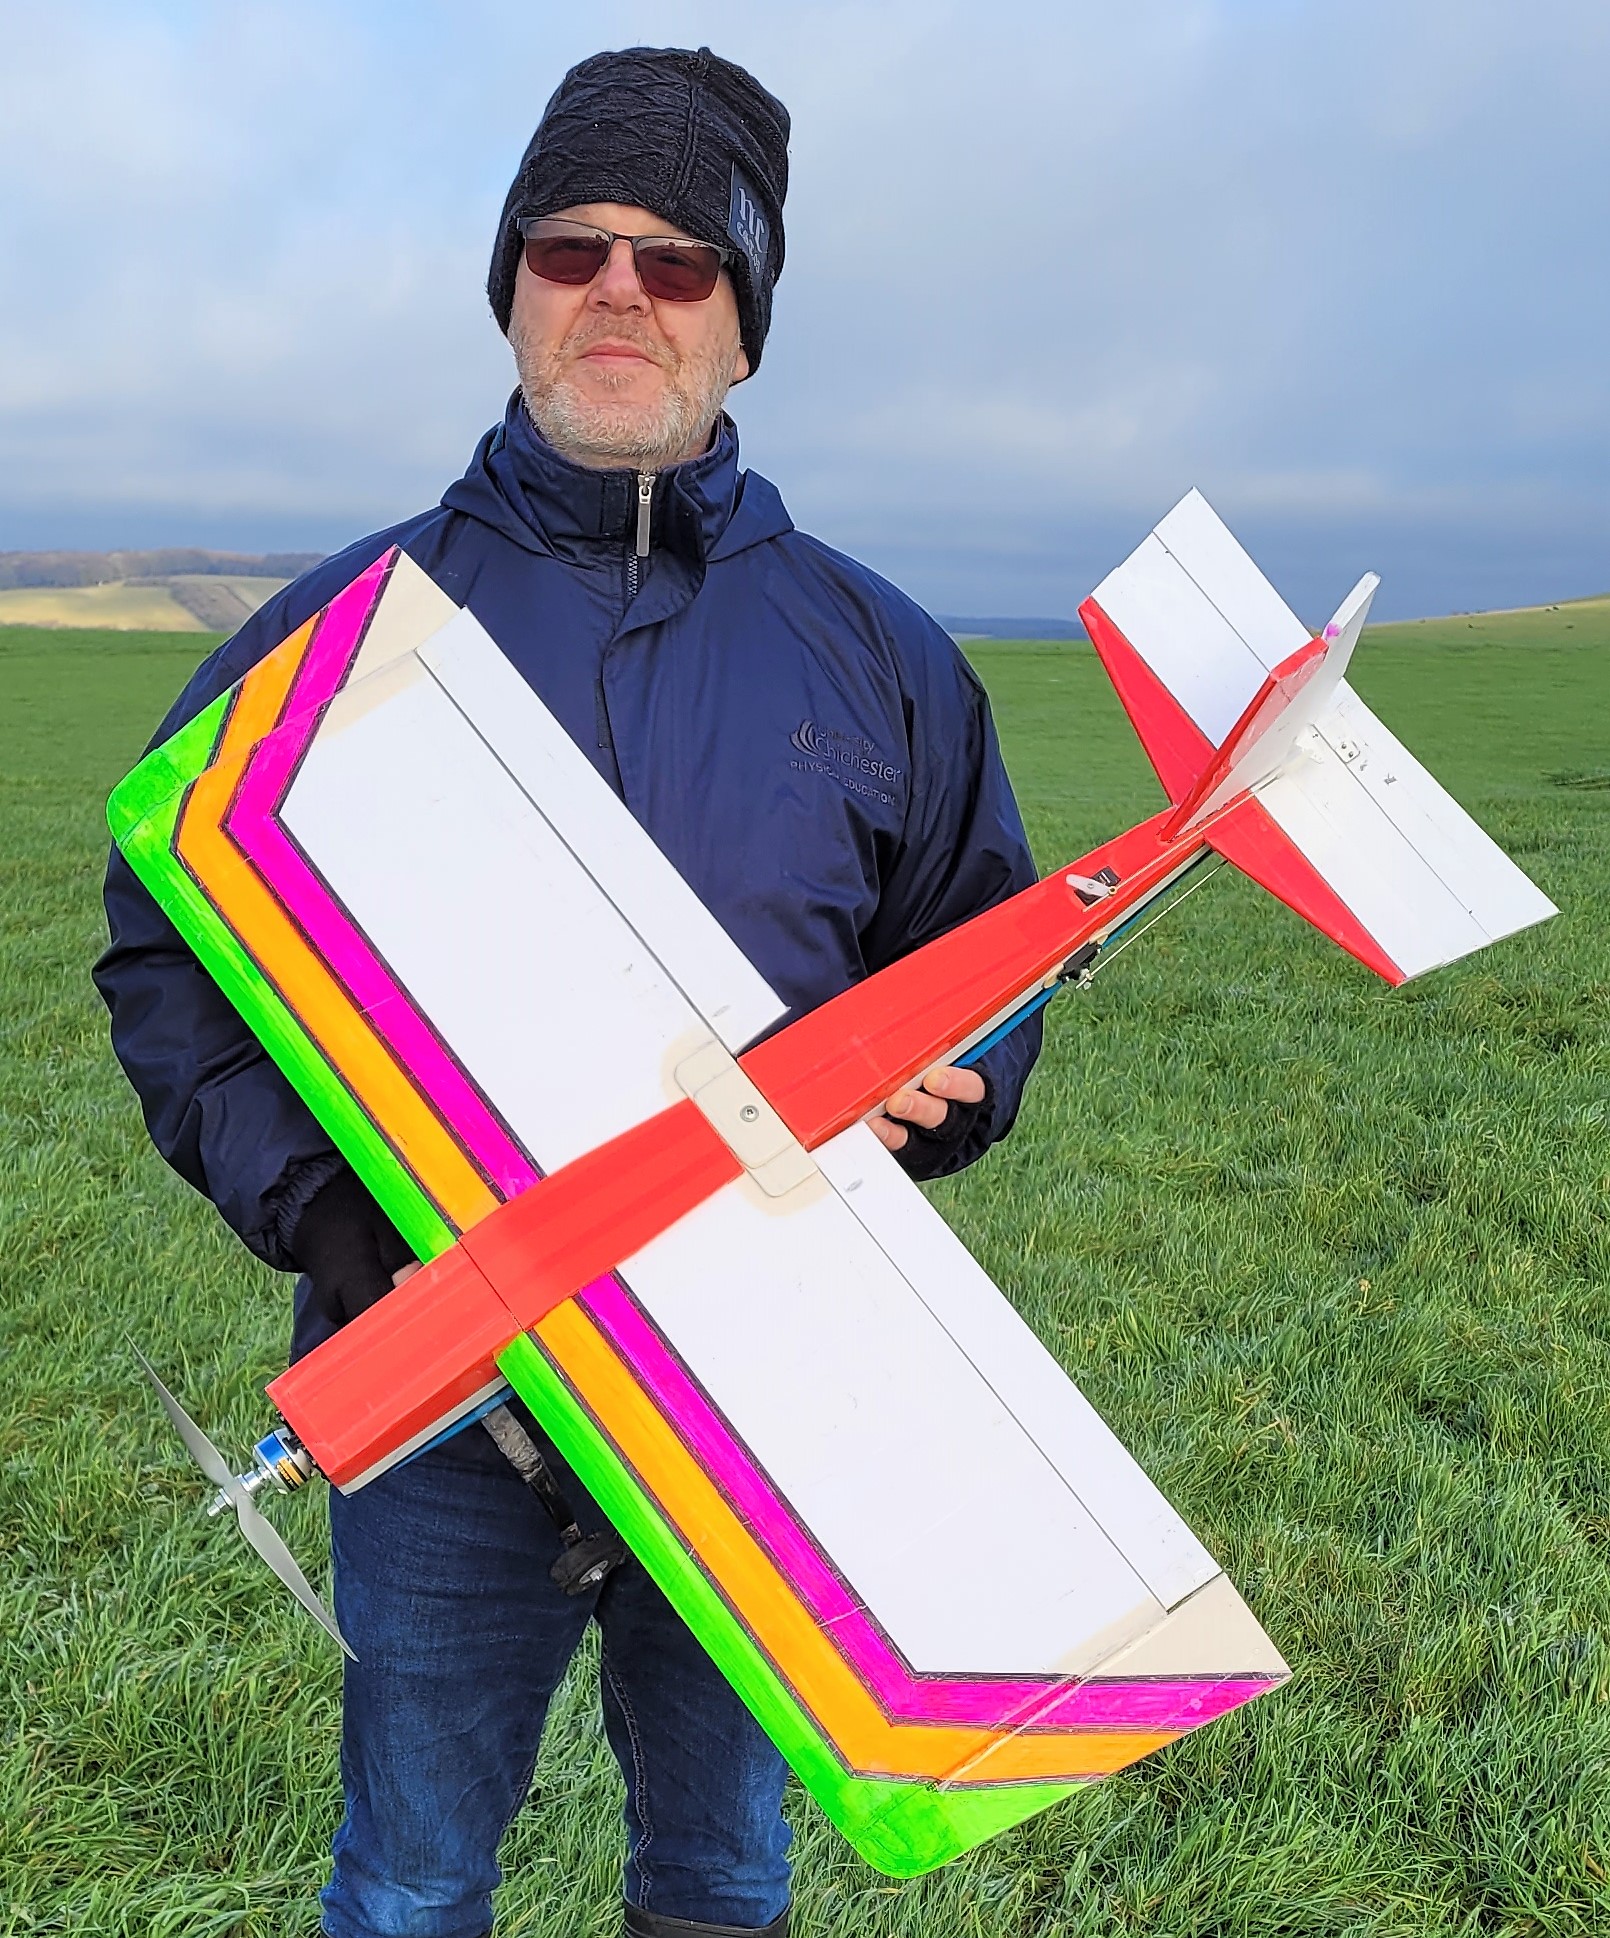 The idea I had, and the brief I gave myself, was to build a winter hack with a materials cost for the airframe of £10.00, and that would fit in the car in one piece.
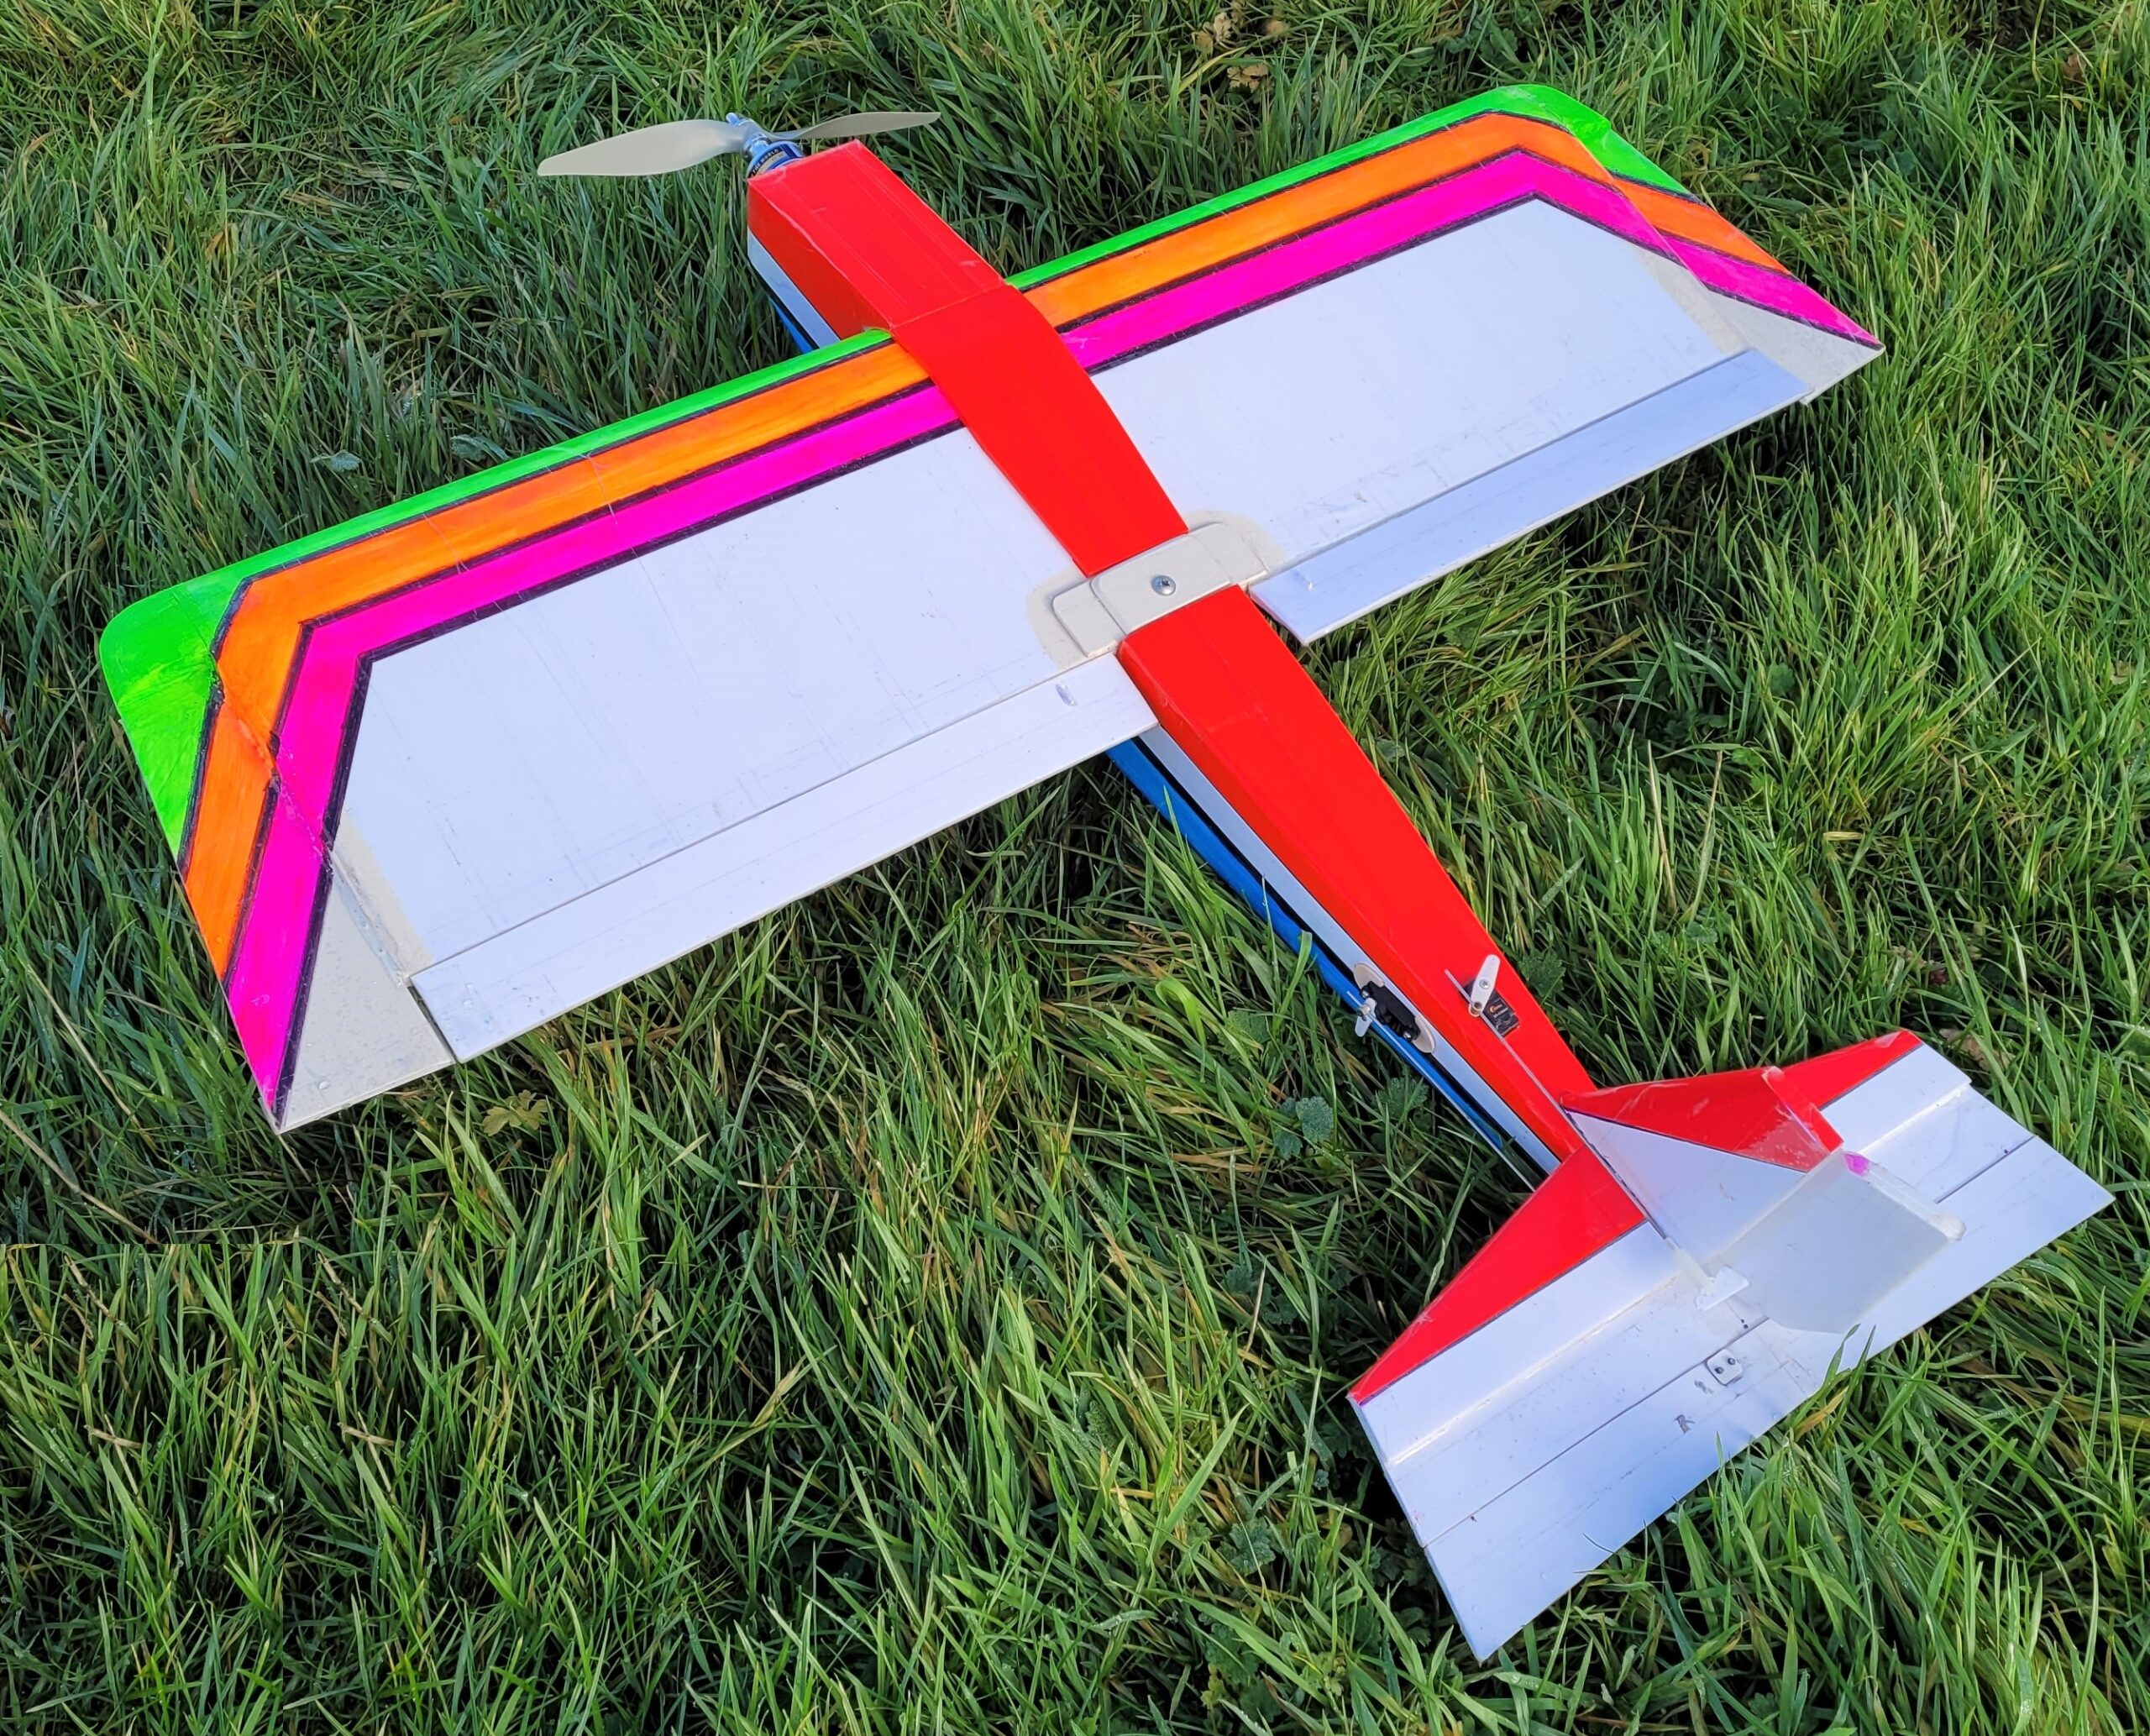 Straight away two things came to mind:- 1. Make it a high winger for ease of everything, and 2. Use 5mm craft board from Hobbycraft for cost. The build started with the wing and in my mind the plan was to produce a symmetrical wing. I did consider doing some trials on the wing construction but this would have eaten into my four sheets of board, therefore the first attempt was the one I used. I decided on what chord looked OK in relation to the maximum span I could get from a single board and cut a piece to twice that figure. I then cut out a vee on the centre line, making sure not to go through the second layer of card (mistake number 1 as this led to a very sharp leading edge which did give me some concerns). I then made many more score marks either side of the central vee to a point where I thought the main spar should go. The next stage was to glue three pieces of foam board on edge, along the line of the last score marks. Finally the board was gently folded back on itself, gluing along the spar, and at the trailing edge. Two end caps were then fitted on the tips. It was at this point I thought the span looked a little short so I decided to fit what have since been named Illusion tips which probably do nothing for the flying but did improve the plan view of the wing. The ailerons were simply cut to a pleasing size and a second strip of card added at the front edge in the Kline-Fogleman style, to add strength and also to allow top hinging with packing tape.
 I now moved on to the fuselage, nothing clever here, just a box made to the maximum length I could get from one piece of material, the sides are two thicknesses of board to just past the wing. The firewall was a piece of board laminated with a piece of ply and slightly set back between the sides to get as much glue area as possible. Two pieces of 3mm ply were glued inside the fuselage where the undercarriage plate is fitted just to spread the landing loads. The wing cut-out was positioned so that I had one and a half times the wing chord to the leading edge of the tailplane. I did put a bit of thought into the battery bay; instead of traditional vertical formers I used a horizontal piece fitted at a slope along the whole length of the nose. This created two compartments, the first being accessible from the wing cut-out, this houses receiver and speed controller, and the second is accessible from a hatch on the underside and has room for the battery.
 Finally a piece of 5mm ply across the fuselage at the rear of the wing takes the wing retaining wood screw. The tailplane was cut to a pleasing size and shape (good rule of thumb here is to make it about 25% the area of the wing). For the first attempt I laminated two pieces of board, again Kline-Fogleman style for strength, but I did not like the exposed foam and card on the leading edge, so after making a paper template, the second attempt was folded at the leading edge. Stronger, more aerodynamic, and far more pleasing on the eye. The elevator was cut out, again using the ‘if it looks right’ method and the rudder was then made in the same fashion.
 All that remained was finishing and fitting the electrics. Mistake number two was that I tried some painting but this had to be done freehand as any attempt at masking just ruined the card. I would have been very proud of the results if I was 50 years younger! After painting and the use of coloured tape for decoration the whole model was covered in clear packing tape for weather resilience. The electrics were robbed from other models and went in very easily, but as it turned out this was when I made mistake number three which became apparent during flight trials. Initial flights showed that I had a very rearward CG, partially caused by fitting the elevator and rudder servos at the rear of the fuselage when I had ample room in the front under the wing. Add to this way too much movement on elevator and the first flights were tricky but showed the potential. I also felt the model did not track very well in the air, the fin did look a little too small.
 So after fitting two 10mm combination spanners in the battery compartment to correct the CG, reducing control throws etc. I had a well behaved model. Back at the workshop I made a new fin and rudder, 50% bigger than the original, and made some other small changes. On the next trip to the field the model proved itself very capable with all the attributes of a high wing plane. In summary, did I meet my brief? I think so, if you take out the mistakes and wasted card it could have been done with three sheets for £7.50.
 The only other thing I purchased was a roll of clear packing tape for £1.00 from Aldi, everything else was from the scrap box. Will it survive the elements? So far so good, it flies in varying wind and has spent a few hours sitting on wet grass. As a flying machine it has very few vices, is almost stall proof, not a 3D model but a very capable aerobatic plane. Three things to remember and almost anything will fly, just depends on how well, so get the correct CG, supply enough power, keep all the incidences correct, and if it looks right it probably is right. I know that’s four! So have a go at not designing a model, stick what you can see in your mind together you may surprise yourself. Thanks for that 1066, I can confirm that it flies very well indeed. Judge for yourselves in this month’s video.
Young Leo turned up with three new models in January, two EDFs and an electric glider. The first model Leo flew was his very attractive F/A-18 Hornet in the Blue Angels colour scheme. Leo tells me it’s a Park Flite model that is no longer available (I’ve never heard of Park Flite) and is 940mm long with a wingspan of 712mm. It’s powered by a 15L brushless motor that spins a 5 bladed fan and is fed by a 3 cell 1300mAh lipo via a 25A ESC.
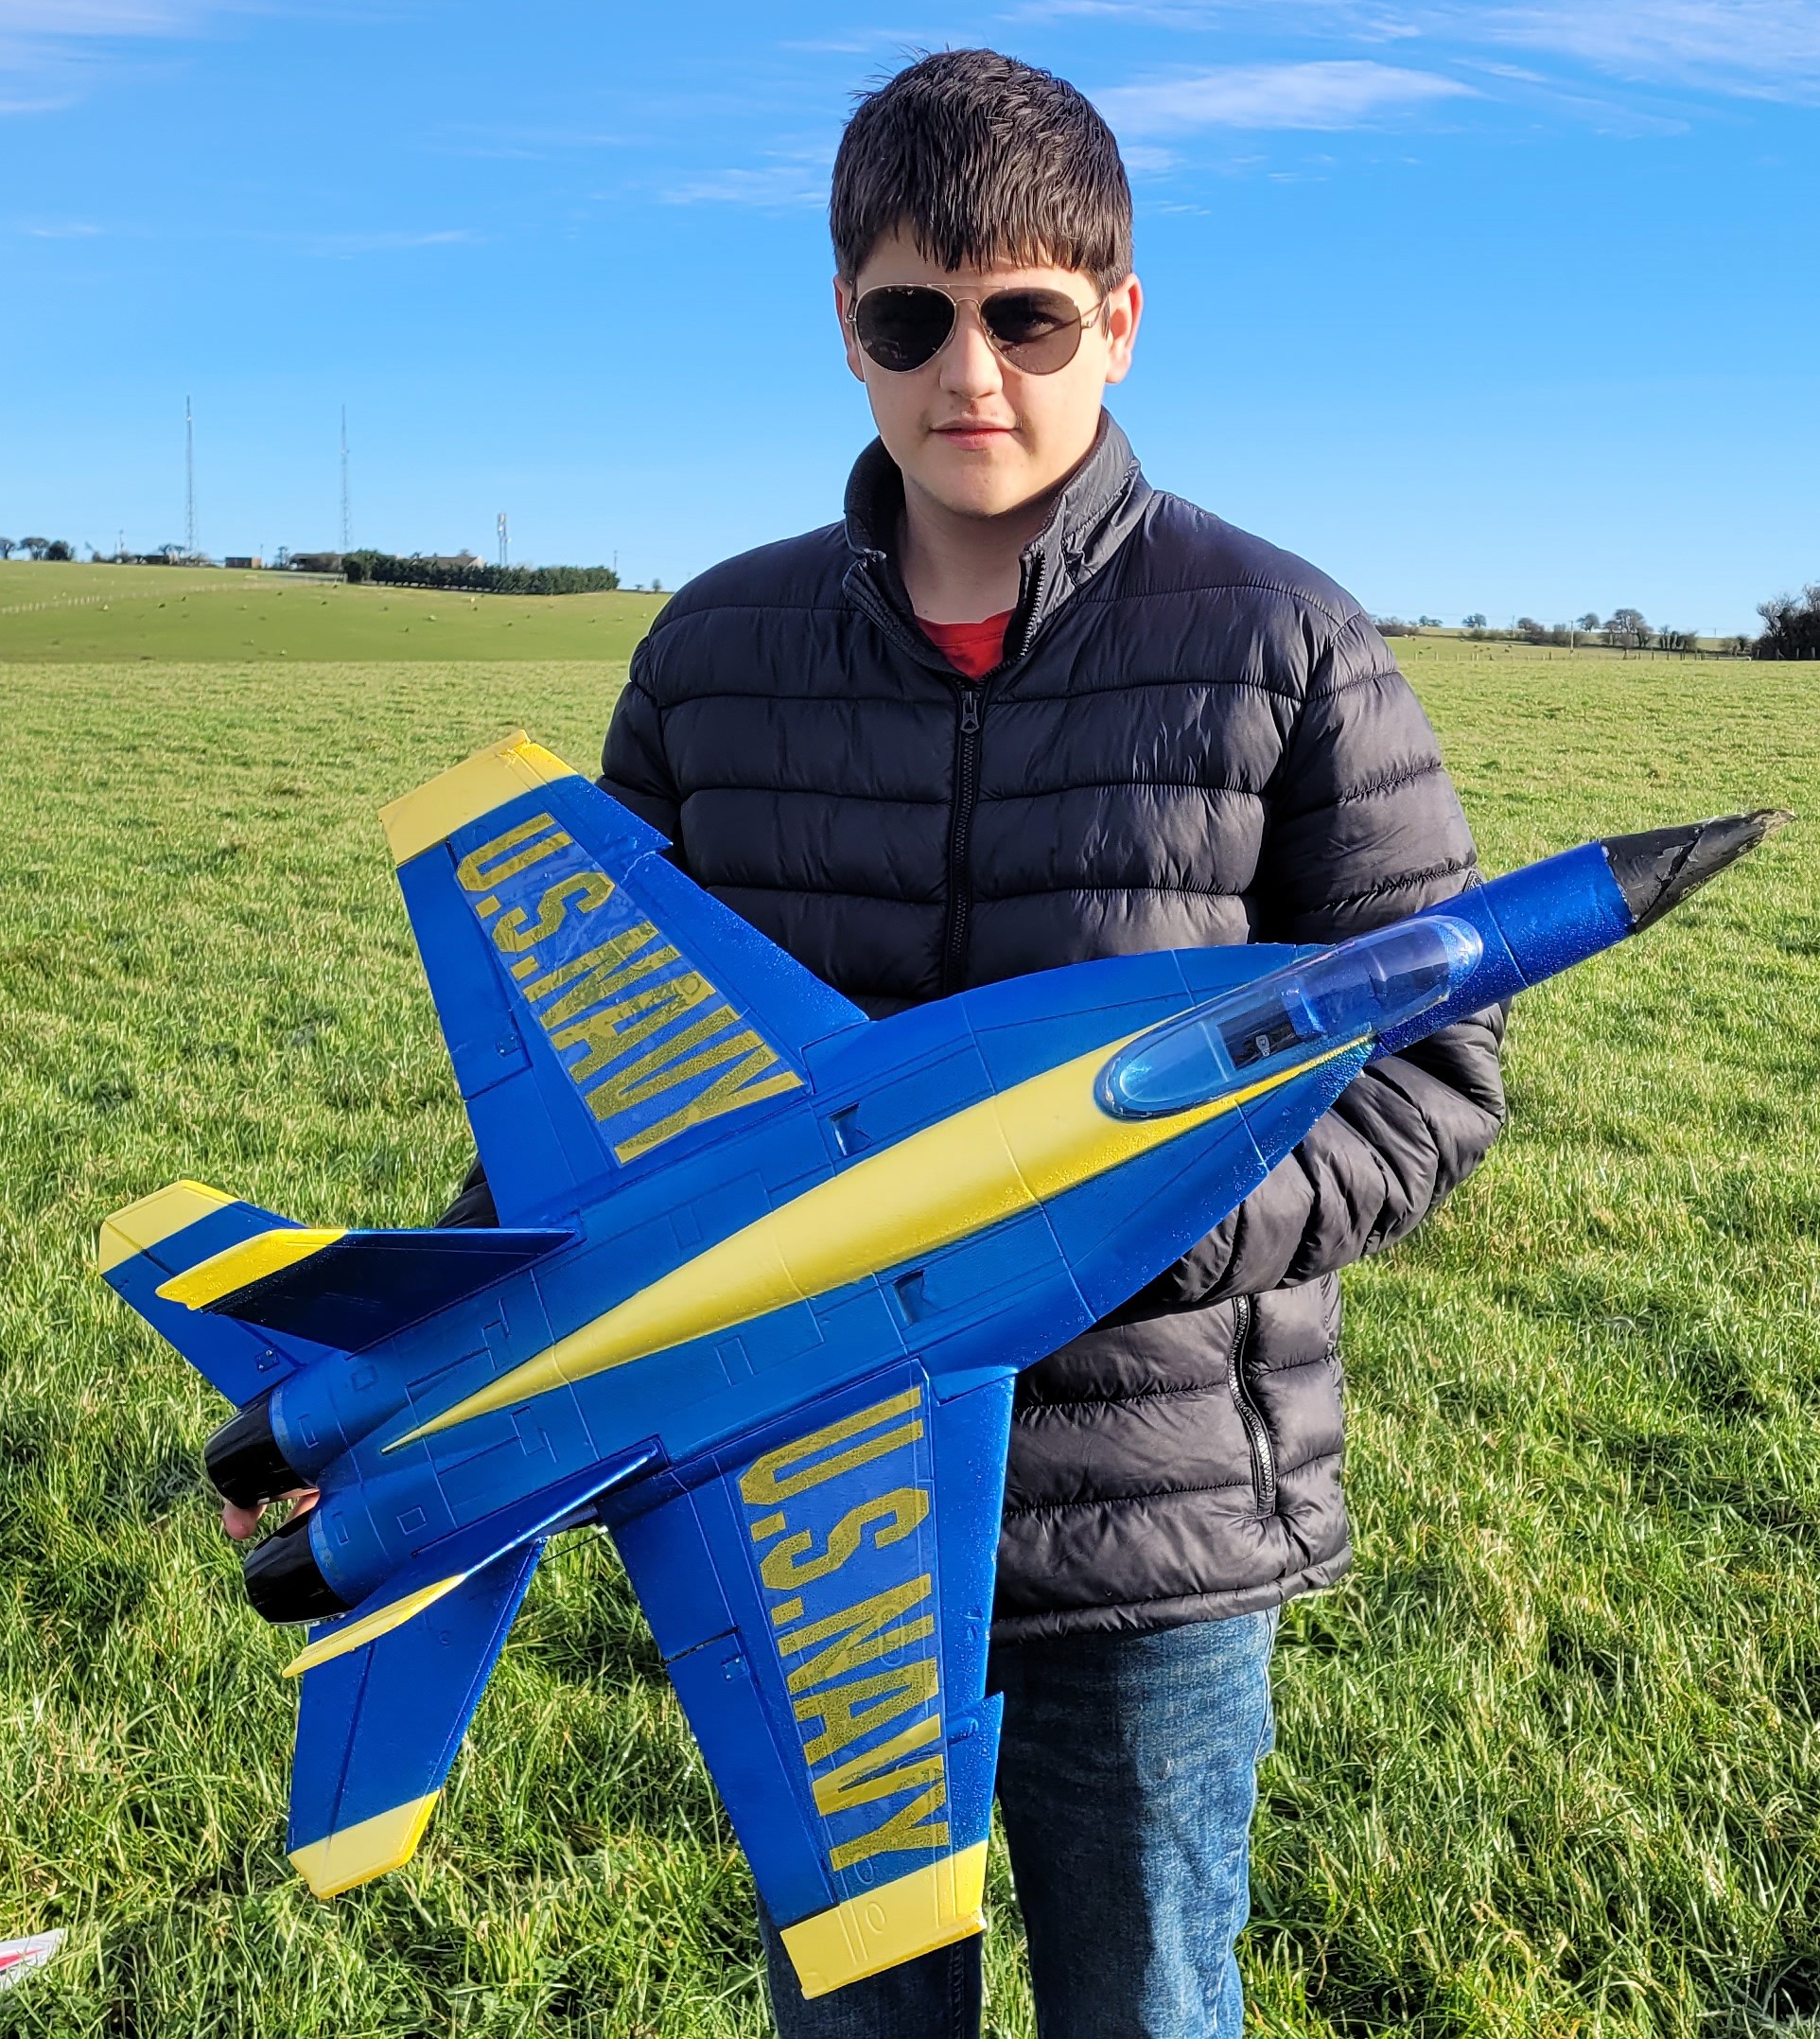 To me it seems a very small battery and motor set-up for the size of the model but it appeared to have plenty of power and flew extremely well with a reasonable duration.
The next EDF Leo flew was his HobbyKing T-45 Goshawk which originally featured in Patch News way back in 2013 when it belonged to belonged to a young Dougal Entendre!  Since that photo was taken the Goshawk has been fitted with a new nosecone, one of a pair that were moulded in glass fibre by Norwegian Nick who also has (had?) the same model.
 The plane flew well but sounded a bit rough, not especially loud but not like an EDF usually sounds. Apparently Dougal has got a 12 bladed 64mm that is going to be fitted as an upgrade so it will be interesting to see how it goes with the new set-up.
Leo’s last new model was a Volantex Phoenix 2000 V2 electric glider, a few of which already exist in the club and are known to be good performers. Leo’s Phoenix flew well, just as expected, but towards the end of the flight the motor started making an odd noise.
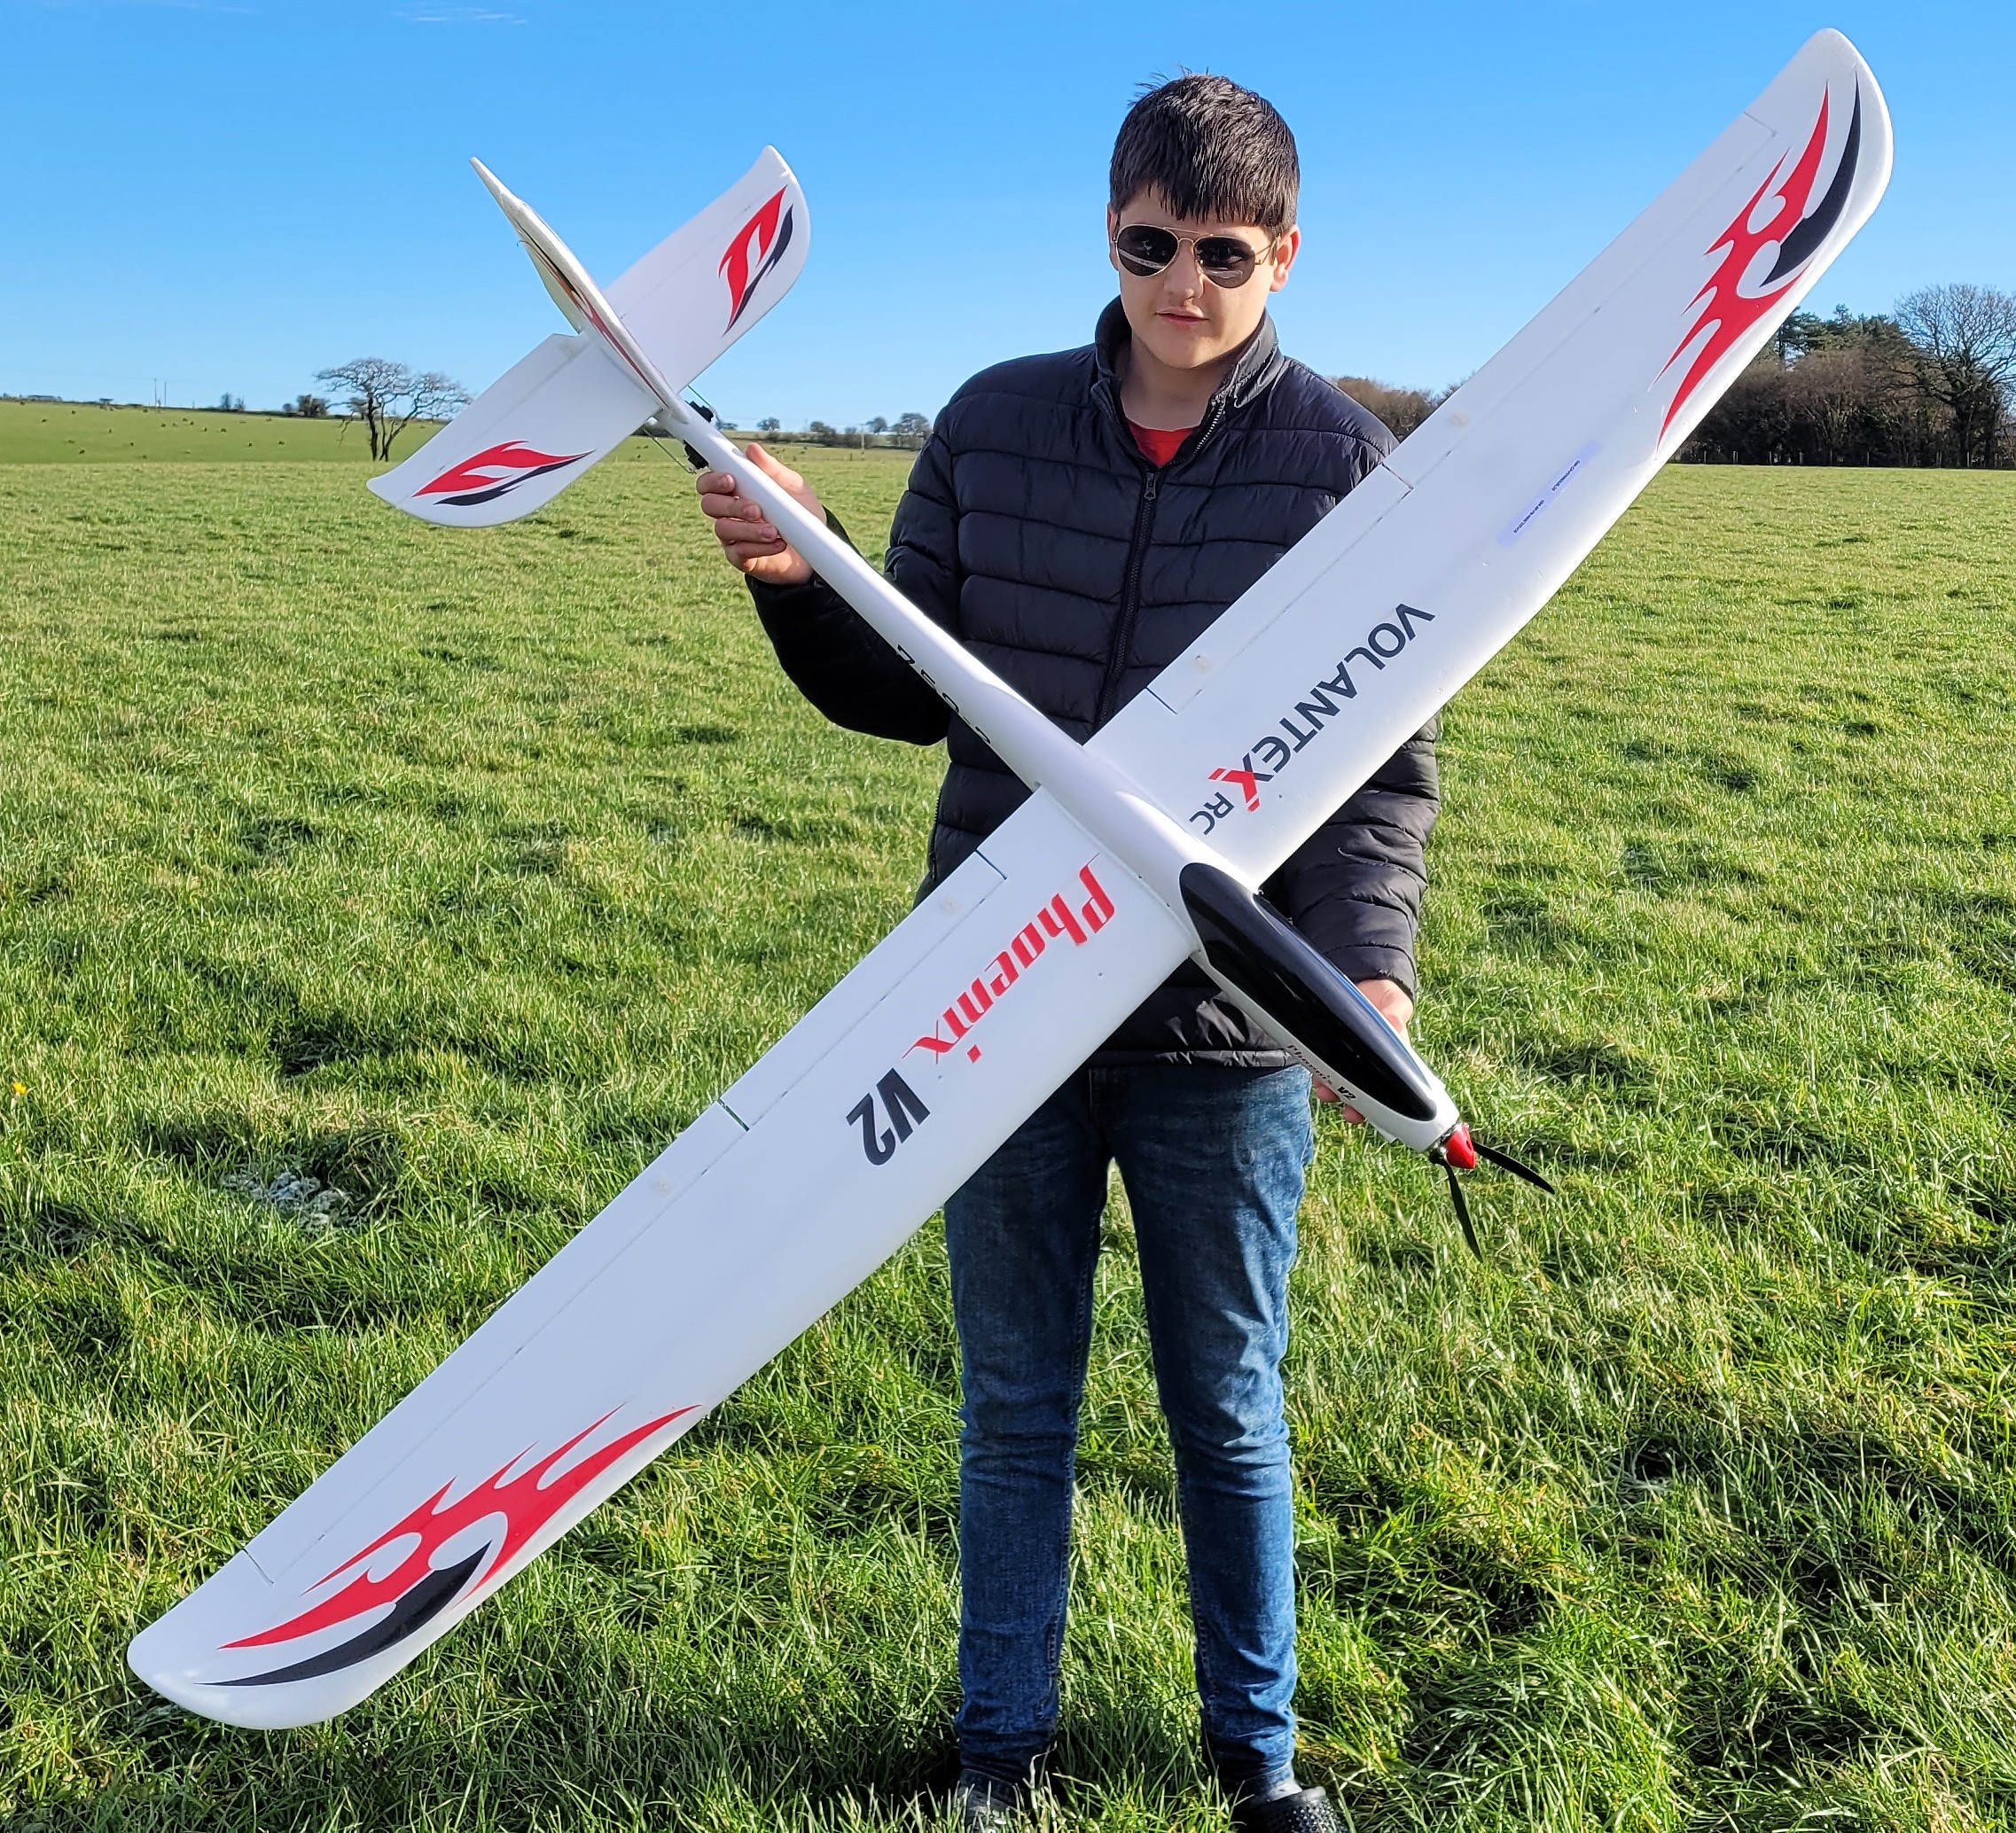 Leo landed the plane safely and received the benefit of advice from various members, all of whom had different opinions! Once back home he had a proper look and discovered the problem was a faulty motor, this is what he said: The motor on the Phoenix had fallen apart because the bearing had moved which should not have happened. I went back to Sussex Model Shop and told them about it and they contacted Volantex RC and hopefully they are going to send me a replacement. Fingers crossed they sort it out for you Leo, let us know the outcome. All three of Leo’s models can be seen flying in this month’s video.
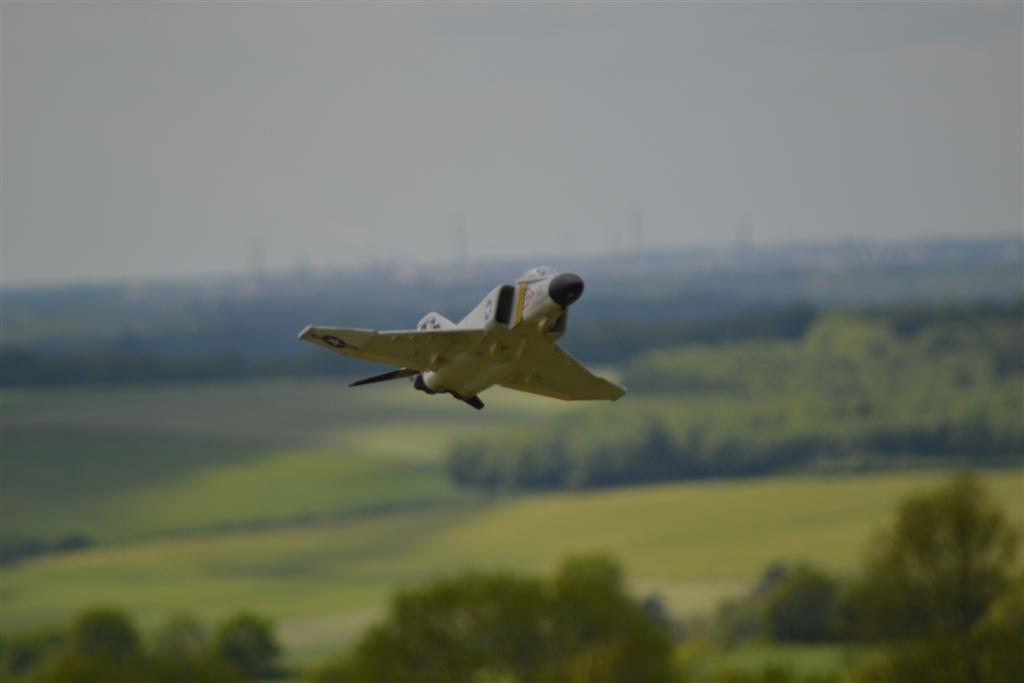
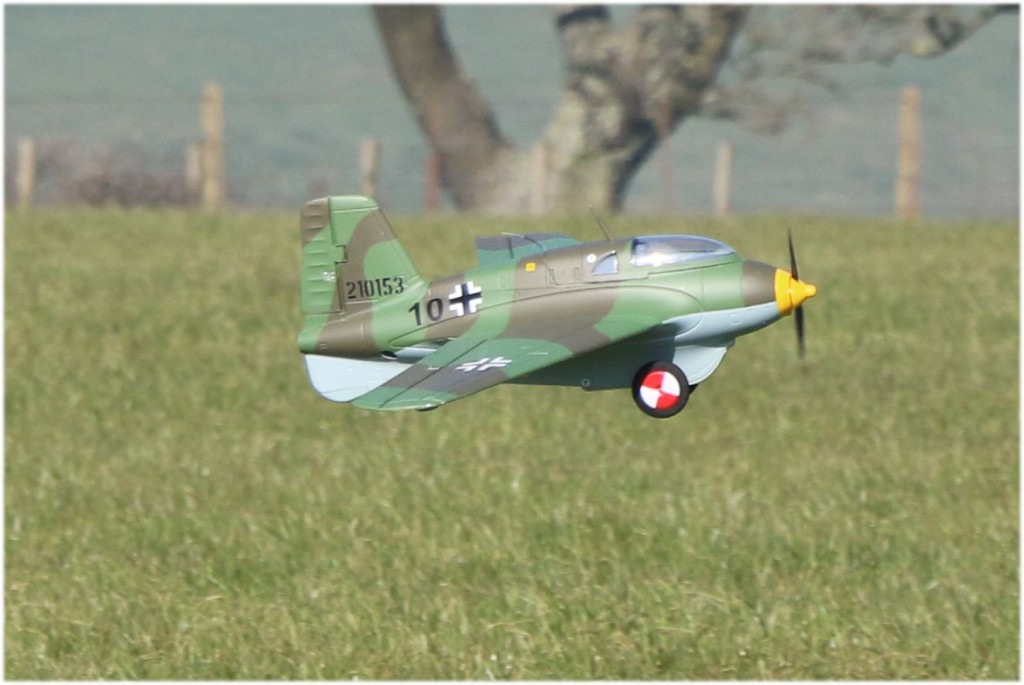
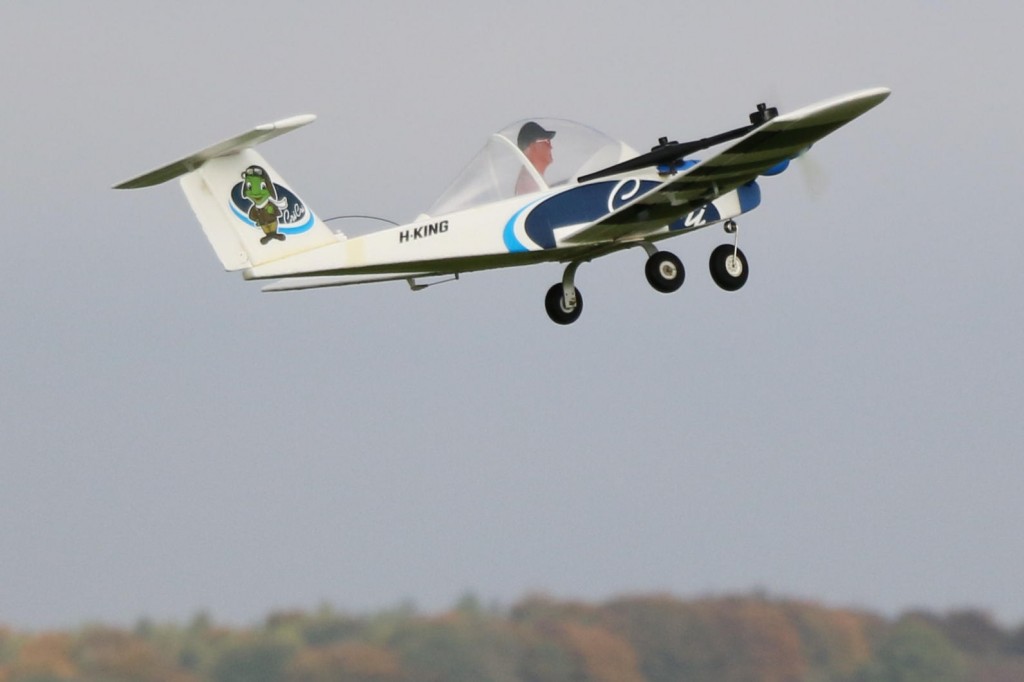
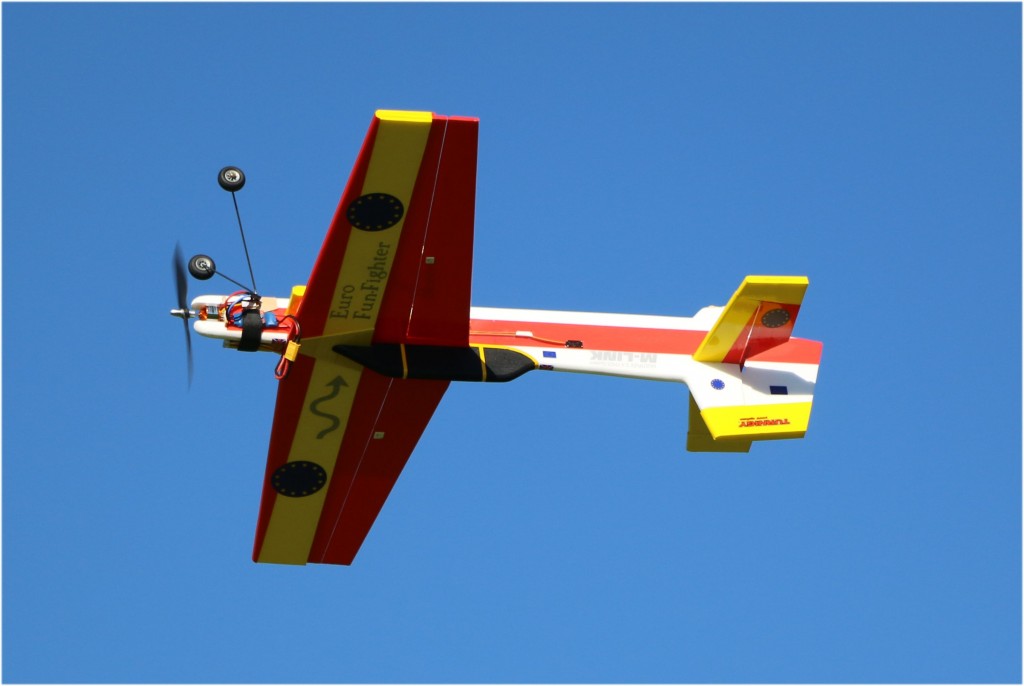
A few flying photos for you now and this month they are some of Kryten’s older shots:
Video time now, with footage shot by Dougal Entendre, Gordon Bennett, and me. Please watch the video full-screen, it’s so much better with small models flying around:
If the video won’t play for you please click HERE
An English pilot was flying a light aircraft across Australia but the engine failed and he crash landed in the Outback and lay unconscious until he was found the following day.
When he came regained consciousness he was in a hospital bed with a nurse standing over him. Still groggy and fearing for his life, he asked, “Did you bring me here to die?”
The nurse responded “Nah, ya got here yesta die.”
Colin Cowplain
Great job Mr Complain, very enjoyable read.
Thank you Mr Margate 🙂
Very good again Mr Cowlain. Thank you for including the decent landing of the Viper rather than the ‘less successful’ attempts!
There’s only so much I can inflict on people!
I’ve just realised I forgot to do the write-up of your Viper, I’ll have to do it in the Feb one.
My SU27 is different to yours Andy and does come with carbon rods and 4 sets of control linkages and horns. All a bit flimsy though can’t see it lasting many of my landings.
If it’s the same as the HobbyKing ones it’s pretty tough but it sounds as if it’s yet another manufacturer